

Persist Data with SQLite: Using SQLite in Flutter for Easy Saving
Introduction
Introduction
Introduction
Introduction
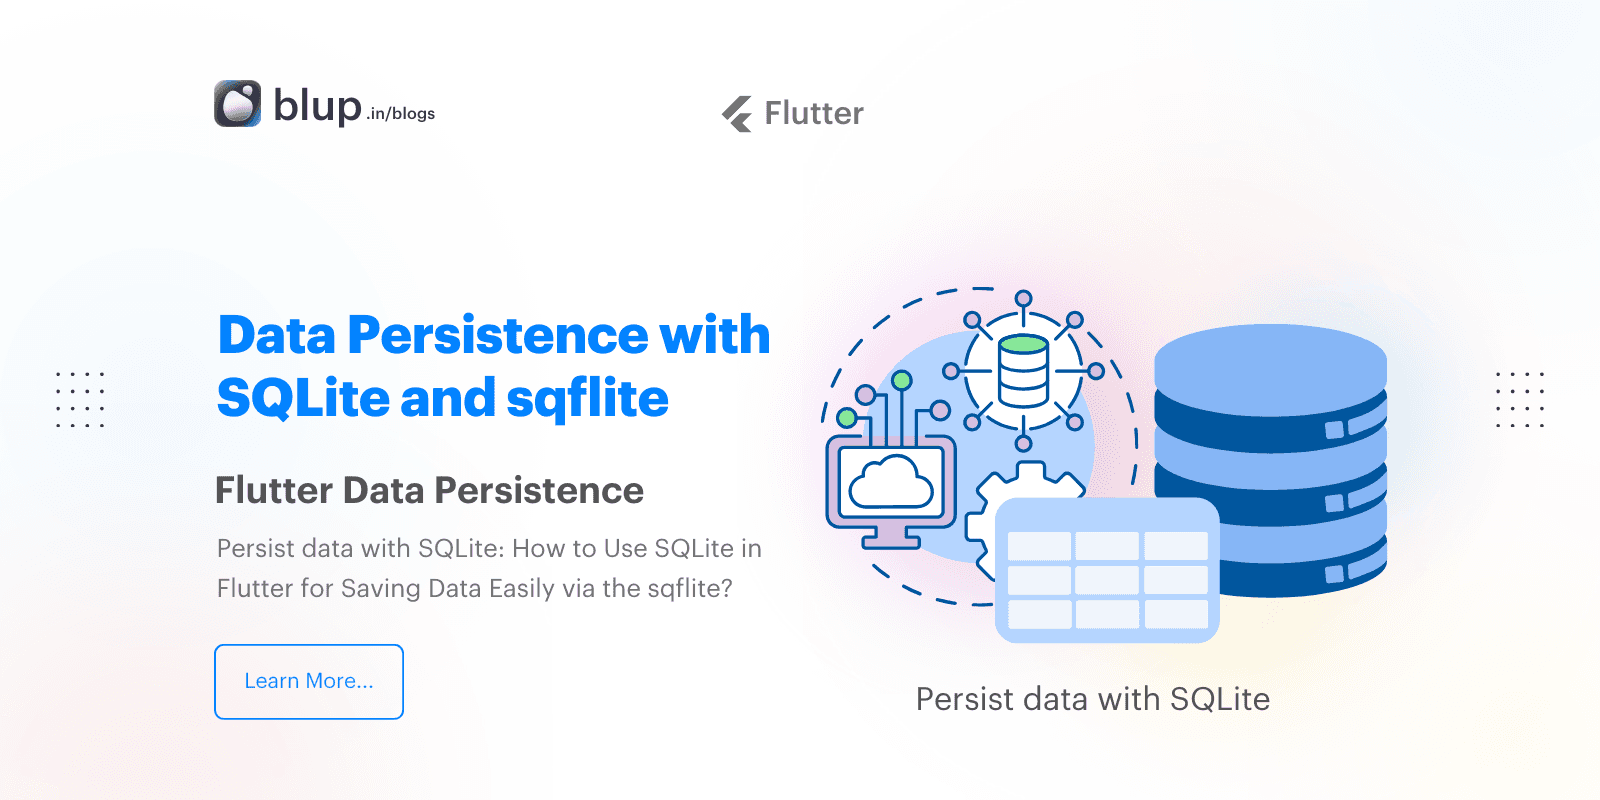
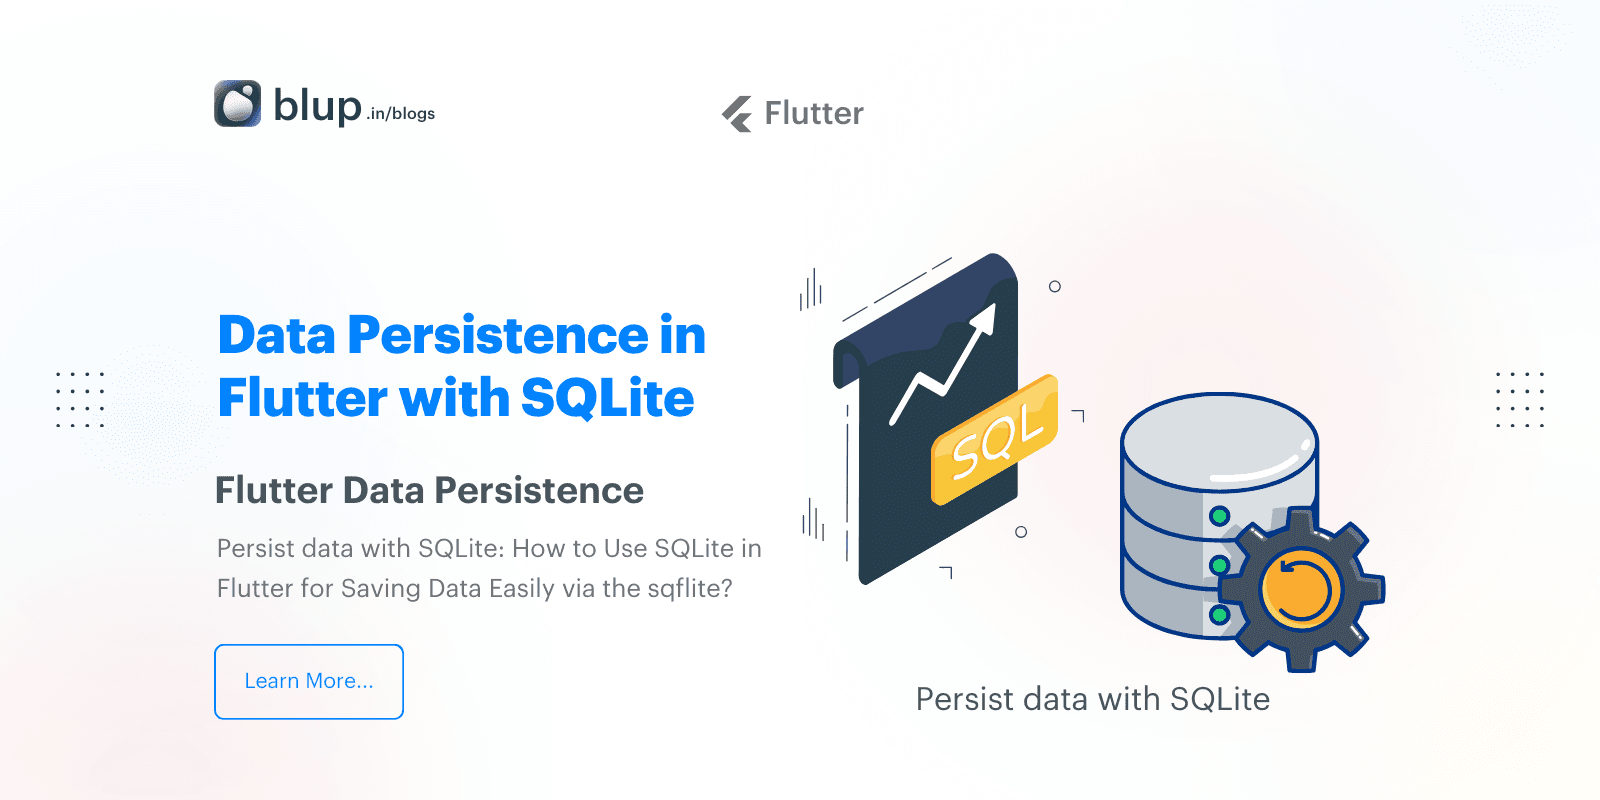
If you're building a Flutter app that needs to store and retrieve large amounts of data on a local device, using a database is the most efficient way to handle this. Flutter offers several options for local data persistence, but one of the best choices is SQLite.
SQLite provides fast read and write operations compared to alternatives like files or key-value stores, and it’s great for structured data. In Flutter, we can integrate SQLite using the sqflite plugin.
In this guide, we’ll walk you through the basics of working with SQLite in Flutter, covering how to create, read, update, and delete data in a database. We’ll use a simple example of storing information about dogs in a database. By the end of this tutorial, you’ll be able to use SQLite effectively in your Flutter apps.
Steps Covered in This Tutorial:
Add dependencies.
Define the data model.
Open the SQLite database.
Create a database table.
Insert data into the database.
Retrieve data from the database.
Update data in the database.
Delete data from the database.
Add the Dependencies
Add the Dependencies
Add the Dependencies
Add the Dependencies
To begin, we need to add the sqflite and path packages as dependencies in our Flutter project. The sqflite package allows us to interact with the SQLite database, while the path package helps in defining the correct file path for storing the database.
To add these dependencies, run the following command in your terminal:
flutter pub add sqflite pathMake sure to import the necessary packages in the file where you’ll be working:
import 'dart:async';
import 'package:flutter/widgets.dart';
import 'package:path/path.dart';
import 'package:sqflite/sqflite.dart';
Define the Data Model
Define the Data Model
Define the Data Model
Define the Data Model
Before creating the database table, we need to define the data model. In this example, we’ll create a Dog the class that represents the data structure we want to store. Each Dog will have an id, a name, and an age.
Here’s the code to define the Dog class:
class Dog {
  final int id;
  final String name;
  final int age;

  Dog({
    required this.id,
    required this.name,
    required this.age,
  });

  // Convert a Dog into a Map. The keys must correspond to the column names in the database.
  Map<String, Object?> toMap() {
    return {
      'id': id,
      'name': name,
      'age': age,
    };
  }

  @override
  String toString() {
    return 'Dog{id: $id, name: $name, age: $age}';
  }
}
This class will help us easily insert, query, and manipulate data in the SQLite database.
Open the SQLite Database
Open the SQLite Database
Open the SQLite Database
Open the SQLite Database
Next, we need to open the SQLite database before performing any operations. This is done using the openDatabase() function from the sqflite package. We’ll also use the getDatabasesPath() function from sqflite and the join() function from the path package to ensure that the database is stored correctly on the device.
WidgetsFlutterBinding.ensureInitialized();
// Required to ensure widgets are initialized

final database = openDatabase(
  join(await getDatabasesPath(), 'doggie_database.db'), // Define the path
);
We’re now ready to start interacting with our database.
Create the Dogs Table
Create the Dogs Table
Create the Dogs Table
Create the Dogs Table
Create the Dogs Table
After opening the database, we need to create a table to store the data. For this example, we’ll create a table named dogs, which contains three columns: id, name, and age.
Here’s how you can create the table:
final database = openDatabase(
  join(await getDatabasesPath(), 'doggie_database.db'),
  onCreate: (db, version) {
    return db.execute(
      'CREATE TABLE dogs(id INTEGER PRIMARY KEY, name TEXT, age INTEGER)',
    );
  },
  version: 1, // Versioning the database for future updates
);
This CREATE TABLE statement defines the structure of the dogs table, and now our database is ready to store data.
Insert Data into the Database
Insert Data into the Database
Insert Data into the Database
Insert Data into the Database
To insert a new dog into the database, we need to convert the Dog object into a Map and then use the insert() method. Here’s a function that performs the insertion:
Future<void> insertDog(Dog dog) async {
  final db = await database;

  await db.insert(
    'dogs',
    dog.toMap(),
    conflictAlgorithm: ConflictAlgorithm.replace, // Replace if the same dog exists
  );
}
Here’s an example of inserting a dog named "Fido" into the database:
var fido = Dog(id: 0, name: 'Fido', age: 35);
await insertDog(fido);
Now, the dog is stored in our SQLite database.
Retrieve Data from the Database
Retrieve Data from the Database
Retrieve Data from the Database
Retrieve Data from the Database
To retrieve a list of dogs stored in the database, we can use the query() method. This returns a list of maps, which we can then convert back into a list of Dog objects.
Future<List<Dog>> dogs() async {
  final db = await database;

  final List<Map<String, Object?>> dogMaps = await db.query('dogs');

  return [
    for (final {
          'id': id as int,
          'name': name as String,
          'age': age as int,
        } in dogMaps)
      Dog(id: id, name: name, age: age),
  ];
}
To print the list of dogs:
print(await dogs()); // Prints the list, which includes "Fido".To retrieve a list of dogs stored in the database, we can use the query() method. This returns a list of maps, which we can then convert back into a list of Dog objects.
Future<List<Dog>> dogs() async {
  final db = await database;

  final List<Map<String, Object?>> dogMaps = await db.query('dogs');

  return [
    for (final {
          'id': id as int,
          'name': name as String,
          'age': age as int,
        } in dogMaps)
      Dog(id: id, name: name, age: age),
  ];
}
To print the list of dogs:
print(await dogs()); // Prints the list, which includes "Fido".Update Data in the Database
Update Data in the Database
Update Data in the Database
Update Data in the Database
If you want to update an existing dog’s information, you can use the update() method. This requires specifying a where clause to make sure you update the correct row in the table.
Future<void> updateDog(Dog dog) async {
  final db = await database;

  await db.update(
    'dogs',
    dog.toMap(),
    where: 'id = ?', // Use where clause to match the dog by id
    whereArgs: [dog.id],
  );
}
For example, to update Fido’s age:
fido = Dog(id: fido.id, name: fido.name, age: fido.age + 7);
await updateDog(fido);

print(await dogs()); // Prints Fido with age updated to 42
Delete Data from the Database
Delete Data from the Database
Delete Data from the Database
Delete Data from the Database
To delete a dog from the database, use the delete() method, passing the dog's id as a whereArg to ensure you delete the correct record.
Future<void> deleteDog(int id) async {
  final db = await database;

  await db.delete(
    'dogs',
    where: 'id = ?',
    whereArgs: [id],
  );
}
To delete Fido from the database:
await deleteDog(fido.id);
print(await dogs()); // Prints an empty list
Full Code Example: Using SQLite in Flutter
Full Code Example: Using SQLite in Flutter
Full Code Example: Using SQLite in Flutter
Full Code Example: Using SQLite in Flutter
Here’s the full code for creating, inserting, querying, updating, and deleting data from an SQLite database in Flutter using the sqflite package. In this example, we’ll store information about dogs in the database.
import 'dart:async';
import 'package:flutter/material.dart';
import 'package:path/path.dart';
import 'package:sqflite/sqflite.dart';

void main() async {
  WidgetsFlutterBinding.ensureInitialized(); // Required to initialize widgets before db operations
  final database = await openDatabase(
    // Set the path to the database. Using the `path` package is recommended to ensure
    // the database path is correctly set on all platforms.
    join(await getDatabasesPath(), 'doggie_database.db'),

    // When the database is first created, create a table to store dogs.
    onCreate: (db, version) {
      return db.execute(
        'CREATE TABLE dogs(id INTEGER PRIMARY KEY, name TEXT, age INTEGER)',
      );
    },

    // Set the version. This is important for future migrations.
    version: 1,
  );

  // Define a Dog class with fields corresponding to the table columns
  class Dog {
    final int id;
    final String name;
    final int age;

    Dog({
      required this.id,
      required this.name,
      required this.age,
    });

    // Convert a Dog into a Map. The keys must correspond to the column names in the database.
    Map<String, Object?> toMap() {
      return {
        'id': id,
        'name': name,
        'age': age,
      };
    }

    @override
    String toString() {
      return 'Dog{id: $id, name: $name, age: $age}';
    }
  }

  // Insert a Dog into the database.
  Future<void> insertDog(Dog dog) async {
    // Get a reference to the database.
    final db = await database;

    // Insert the Dog into the correct table.
    // `conflictAlgorithm` means replacing the existing record in case of a conflict.
    await db.insert(
      'dogs',
      dog.toMap(),
      conflictAlgorithm: ConflictAlgorithm.replace,
    );
  }

  // A method that retrieves all the dogs from the dogs table.
  Future<List<Dog>> dogs() async {
    // Get a reference to the database.
    final db = await database;

    // Query the table for all the Dogs.
    final List<Map<String, dynamic>> maps = await db.query('dogs');

    // Convert the List<Map<String, dynamic> into a List<Dog>.
    return List.generate(maps.length, (i) {
      return Dog(
        id: maps[i]['id'],
        name: maps[i]['name'],
        age: maps[i]['age'],
      );
    });
  }

  // Update a Dog's data by ID.
  Future<void> updateDog(Dog dog) async {
    // Get a reference to the database.
    final db = await database;

    // Update the given Dog.
    await db.update(
      'dogs',
      dog.toMap(),
      // Ensure that the Dog has the matching id to be updated.
      where: 'id = ?',
      // Pass the Dog's id as a whereArg to prevent SQL injection.
      whereArgs: [dog.id],
    );
  }

  // Delete a Dog from the database by ID.
  Future<void> deleteDog(int id) async {
    // Get a reference to the database.
    final db = await database;

    // Remove the Dog from the database.
    await db.delete(
      'dogs',
      // Use a `where` clause to delete a specific dog.
      where: 'id = ?',
      // Pass the Dog's id as a whereArg to prevent SQL injection.
      whereArgs: [id],
    );
  }

  // Using the database with some example operations.
  var fido = Dog(id: 0, name: 'Fido', age: 35);

  // Insert Fido into the database.
  await insertDog(fido);

  // Print the list of dogs (including Fido).
  print(await dogs());

  // Update Fido's age and update him in the database.
  fido = Dog(id: fido.id, name: fido.name, age: fido.age + 7);
  await updateDog(fido);

  // Print the updated list of dogs.
  print(await dogs());

  // Delete Fido from the database.
  await deleteDog(fido.id);

  // Print the list of dogs (empty since Fido is deleted).
  print(await dogs());
}
Explanation of the Full Code:
Dog Class: This class represents the data structure that will be stored in the database. It includes fields for
id,name, andage, and a method for converting the object into a map.Database Initialization: The
openDatabase()function creates or opens a database at a specified path and creates adogstable if it doesn’t exist.CRUD Operations:
Insert: Adds a new dog record into the
dogstable using theinsert()method.Query: Retrieves all dog records from the database using the
query()method and converts them into a list ofDogobjects.Update: Updates a dog’s details by using the
update()method and specifying theid.Delete: Deletes a dog from the database by its
idusing thedelete()method.
Example Usage: In this example, a
Dogobject namedFidois created and inserted into the database, his age is updated, and then he is deleted from the database, demonstrating all CRUD operations.
Conclusion
Using SQLite in Flutter with the sqflite plugin gives you a robust, efficient way to store structured data locally. With this full code example, you now have everything you need to get started with SQLite for your Flutter apps. You’ve seen how to create a database, perform common CRUD operations, and manipulate data.
If you want to take your app to the next level or need professional assistance, consider Blup for custom app development and advanced Flutter solutions. Our team is here to help you build powerful and scalable Flutter apps with optimized data persistence solutions.
Table of content


© 2021-25 Blupx Private Limited.
All rights reserved.
© 2021-25 Blupx Private Limited.
All rights reserved.
© 2021-25 Blupx Private Limited.
All rights reserved.