

Networking & http in flutter: Fetching Data from the Internet
Introduction
Introduction
Introduction
Introduction
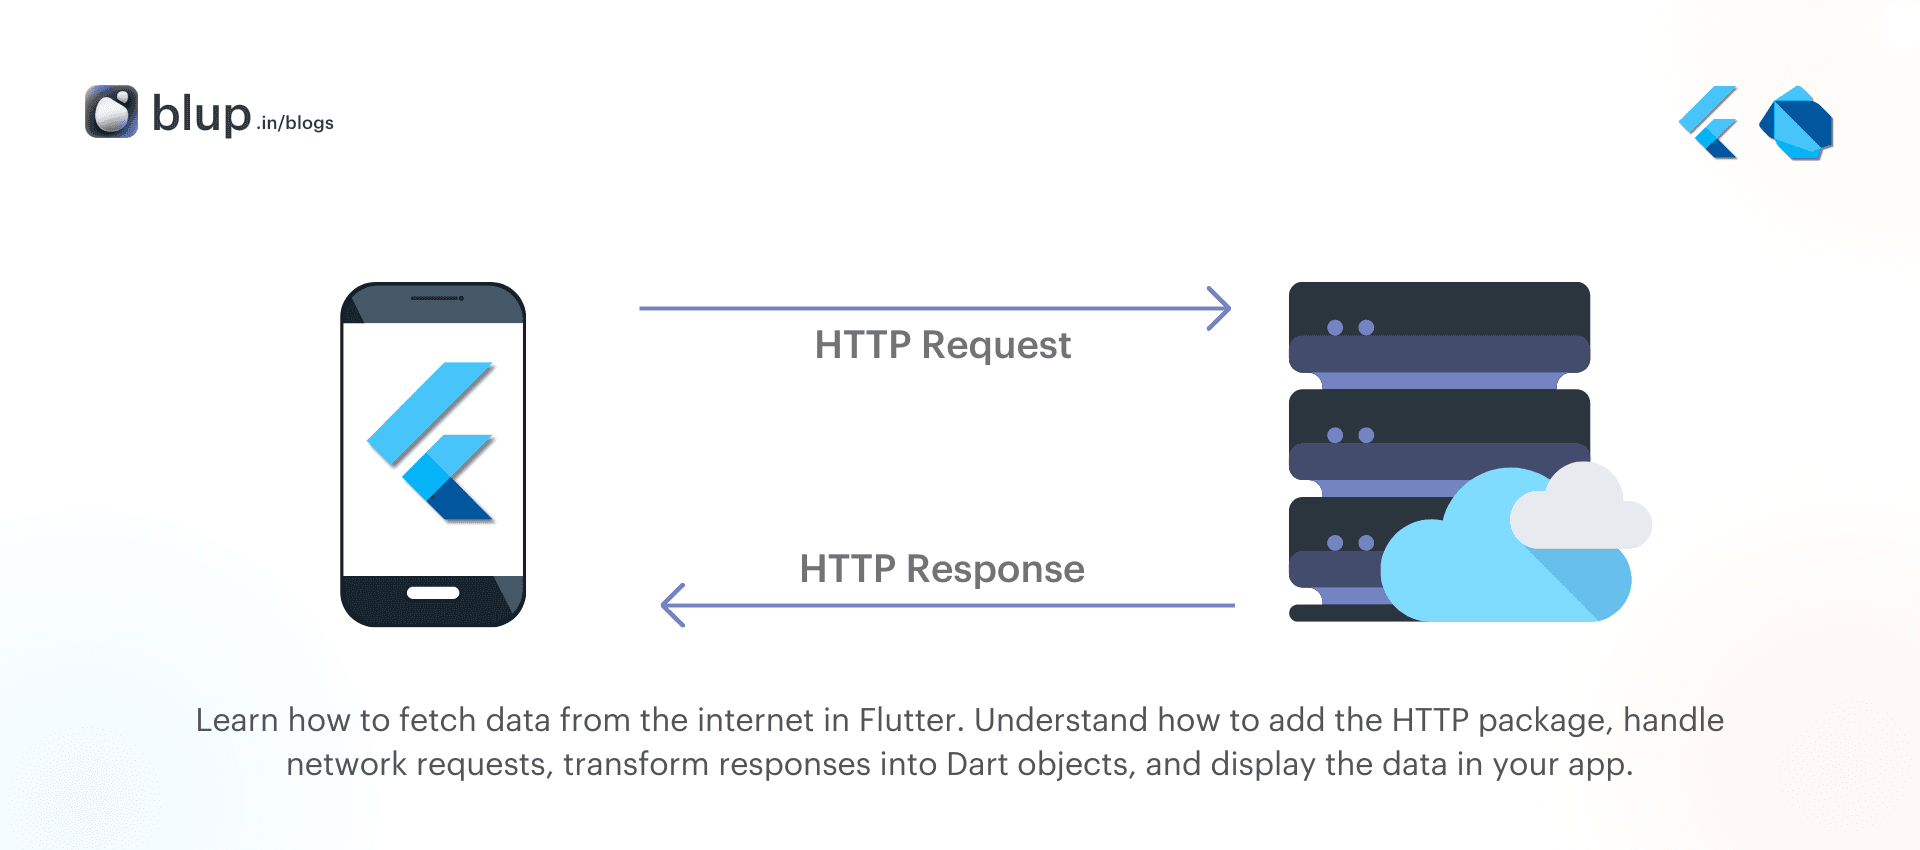
Fetching data from the internet is a fundamental feature of most modern apps. Whether it’s user data, a list of products, or live scores, apps often need to retrieve data from web servers or APIs to deliver an engaging experience.
In this blog, you’ll learn how to make HTTP requests in Flutter using the http package, handle the responses, and convert them into Dart objects that your app can use. You will also see how to test your implementation and display the data in your app's UI.
People Also Ask:
How do I fetch data from the internet in Flutter?
What is the best way to handle HTTP requests in Flutter?
This recipe uses the following steps:
Add the
httppackage.Make a network request using the
httppackage.Convert the response into a custom Dart object.
Fetch and display the data with Flutter.
Making a Network Request
Making a Network Request
Making a Network Request
Making a Network Request
Now that you’ve added the http package, let’s make a simple GET request to fetch data from the internet. We’ll use the JSONPlaceholder API for this example, which provides a sample API endpoint for testing.
Here’s how to make a basic network request using the http package:
import 'package:http/http.dart' as http;

Future<http.Response> fetchAlbum() {
  return http.get(Uri.parse('https://jsonplaceholder.typicode.com/albums/1'));
}
If you’re deploying to Android, don’t forget to edit your AndroidManifest.xml file to include the Internet permission:
<uses-permission android:name="android.permission.INTERNET" />For macOS, include the network client entitlement in both DebugProfile.entitlements and Release.entitlements:
<key>com.apple.security.network.client</key>
<true
Making a Network Request
Making a Network Request
Making a Network Request
Making a Network Request
Now that you’ve added the http package, let’s make a simple GET request to fetch data from the internet. We’ll use the JSONPlaceholder API for this example, which provides a sample API endpoint for testing.
Here’s how to make a basic network request using the http package:
import 'package:http/http.dart' as http;

Future<http.Response> fetchAlbum() {
  return http.get(Uri.parse('https://jsonplaceholder.typicode.com/albums/1'));
}
This method returns a Future that contains an http.Response object. A Future represents a potential value that will be available at some point.
Converting the Response to a Custom Dart Object
Converting the Response to a Custom Dart Object
Converting the Response to a Custom Dart Object
Converting the Response to a Custom Dart Object
While handling raw HTTP responses is possible, it's better practice to convert them into Dart objects. This makes it easier to work with the data and integrate it into your app’s UI.
In this section, we’ll show how to convert the JSON response from the API into a Dart object.
First, create a custom Dart class to represent the data.
Creating the Album Class
Create a simple Album class that contains the fields we expect to retrieve from the API:
class Album {
  final int userId;
  final int id;
  final String title;

  const Album({
    required this.userId,
    required this.id,
    required this.title,
  });

  factory Album.fromJson(Map<String, dynamic> json) {
    return Album(
      userId: json['userId'] as int,
      id: json['id'] as int,
      title: json['title'] as String,
    );
  }
}
The Album class includes a fromJson() factory method, which allows us to convert the JSON response into a Dart object.
How do I create a Dart class from JSON in Flutter?
What is the easiest way to convert API response data into Dart objects?
Handling the HTTP Response
Next, we’ll modify the fetchAlbum() function to return an Album object instead of the raw HTTP response. We will decode the JSON and convert it into our Album object.
import 'dart:convert';
import 'package:http/http.dart' as http;

Future<Album> fetchAlbum() async {
  final response = await http.get(Uri.parse('https://jsonplaceholder.typicode.com/albums/1'));

  if (response.statusCode == 200) {
    // If the server returns a 200 OK response, parse the JSON
    return Album.fromJson(jsonDecode(response.body));
  } else {
    // If the server returns an error, throw an exception
    throw Exception('Failed to load album');
  }
}
Here, we check if the request was successful by verifying the status code. If it is 200 OK, we parse the response body and return an Album object.
Fetching and Displaying Data
Fetching and Displaying Data
Fetching and Displaying Data
Fetching and Displaying Data
Now that we can fetch data and convert it into a Dart object, let’s display the fetched album in the app. We’ll use a FutureBuilder widget to call the fetchAlbum() function and display the album title.
Now, call the fetchAlbum() method in the initState() or didChangeDependencies() method of your Flutter widget.
Here’s the full widget code:
import 'package:flutter/material.dart';

void main() => runApp(MyApp());

class MyApp extends StatelessWidget {
  @override
  Widget build(BuildContext context) {
    return MaterialApp(
      title: 'Fetch Data Example',
      theme: ThemeData(
        primarySwatch: Colors.blue,
      ),
      home: MyHomePage(),
    );
  }
}

class MyHomePage extends StatefulWidget {
  @override
  _MyHomePageState createState() => _MyHomePageState();
}

class _MyHomePageState extends State<MyHomePage> {
  late Future<Album> futureAlbum;

  @override
  void initState() {
    super.initState();
    futureAlbum = fetchAlbum();
  }

  @override
  Widget build(BuildContext context) {
    return Scaffold(
      appBar: AppBar(
        title: Text('Fetch Data Example'),
      ),
      body: Center(
        child: FutureBuilder<Album>(
          future: futureAlbum,
          builder: (context, snapshot) {
            if (snapshot.hasData) {
              return Text(snapshot.data!.title);
            } else if (snapshot.hasError) {
              return Text('${snapshot.error}');
            }

            // By default, show a loading spinner
            return CircularProgressIndicator();
          },
        ),
      ),
    );
  }
}
In this example, the FutureBuilder widget waits for the fetchAlbum() function to complete and then display the album title. If there’s an error, it shows an error message. While waiting for the data, a loading spinner is displayed.
Why fetchAlbum() is Called in initState()
In the example above, the fetchAlbum() function is called inside the initState() method. This is because we want to make the network request when the widget is first built.
By calling fetchAlbum() in initState(), we ensure that the data is fetched as soon as the widget is initialized, rather than waiting for user interaction or manual triggers.
Testing the HTTP Request
Testing the HTTP Request
Testing the HTTP Request
Testing the HTTP Request
Testing the HTTP Request
It’s important to test your HTTP requests to ensure that they work as expected, even under various conditions like slow networks or server errors.
You can test your network requests by simulating server responses using mock data or using a tool like Postman. This helps verify that your app handles both success and failure scenarios gracefully.
People Also Ask:
How do I test HTTP requests in Flutter?
How can I mock API responses in Flutter?
Complete example
Complete example
Complete example
Complete example
Here’s the complete code that demonstrates how to fetch data from the internet, convert it into a Dart object, and display it in a Flutter app:
import 'package:flutter/material.dart';
import 'package:http/http.dart' as http;
import 'dart:convert';

class Album {
  final int userId;
  final int id;
  final String title;

  const Album({
    required this.userId,
    required this.id,
    required this.title,
  });

  factory Album.fromJson(Map<String, dynamic> json) {
    return Album(
      userId: json['userId'] as int,
      id: json['id'] as int,
      title: json['title'] as String,
    );
  }
}

Future<Album> fetchAlbum() async {
  final response = await http.get(Uri.parse('https://jsonplaceholder.typicode.com/albums/1'));

  if (response.statusCode == 200) {
    return Album.fromJson(jsonDecode(response.body) as Map<String, dynamic>);
  } else {
    throw Exception('Failed to load album');
  }
}

class MyApp extends StatefulWidget {
  @override
  _MyAppState createState() => _MyAppState();
}

class _MyAppState extends State<MyApp> {
  late Future<Album> futureAlbum;

  @override
  void initState() {
    super.initState();
    futureAlbum = fetchAlbum();
  }

  @override
  Widget build(BuildContext context) {
    return MaterialApp(
      home: Scaffold(
        appBar: AppBar(title: Text('Fetch Data Example')),
        body: Center(
          child: FutureBuilder<Album>(
            future: futureAlbum,
            builder: (context, snapshot) {
              if (snapshot.connectionState == ConnectionState.waiting) {
                return CircularProgressIndicator();
              } else if (snapshot.hasError) {
                return Text('Error: ${snapshot.error}');
              } else {
                return Text('Album Title: ${snapshot.data?.title}');
              }
            },
          ),
        ),
      ),
    );
  }
}
void main() {
  runApp(MyApp());
}
Conclusion
Conclusion
Conclusion
Conclusion
Fetching data from the internet in Flutter is a straightforward process that enhances the functionality of your app. By following these steps, you can seamlessly integrate HTTP networking, transform data into Dart objects, and display it in your Flutter applications. Start experimenting with API integrations, and elevate your Flutter apps to the next level!
Fetching data from the internet in Flutter is a straightforward process that enhances the functionality of your app. By following these steps, you can seamlessly integrate HTTP networking, transform data into Dart objects, and display it in your Flutter applications. Start experimenting with API integrations, and elevate your Flutter apps to the next level!
Fetching data from the internet in Flutter is a straightforward process that enhances the functionality of your app. By following these steps, you can seamlessly integrate HTTP networking, transform data into Dart objects, and display it in your Flutter applications. Start experimenting with API integrations, and elevate your Flutter apps to the next level!
Fetching data from the internet in Flutter is a straightforward process that enhances the functionality of your app. By following these steps, you can seamlessly integrate HTTP networking, transform data into Dart objects, and display it in your Flutter applications. Start experimenting with API integrations, and elevate your Flutter apps to the next level!
Table of content


© 2021-25 Blupx Private Limited.
All rights reserved.
© 2021-25 Blupx Private Limited.
All rights reserved.
© 2021-25 Blupx Private Limited.
All rights reserved.