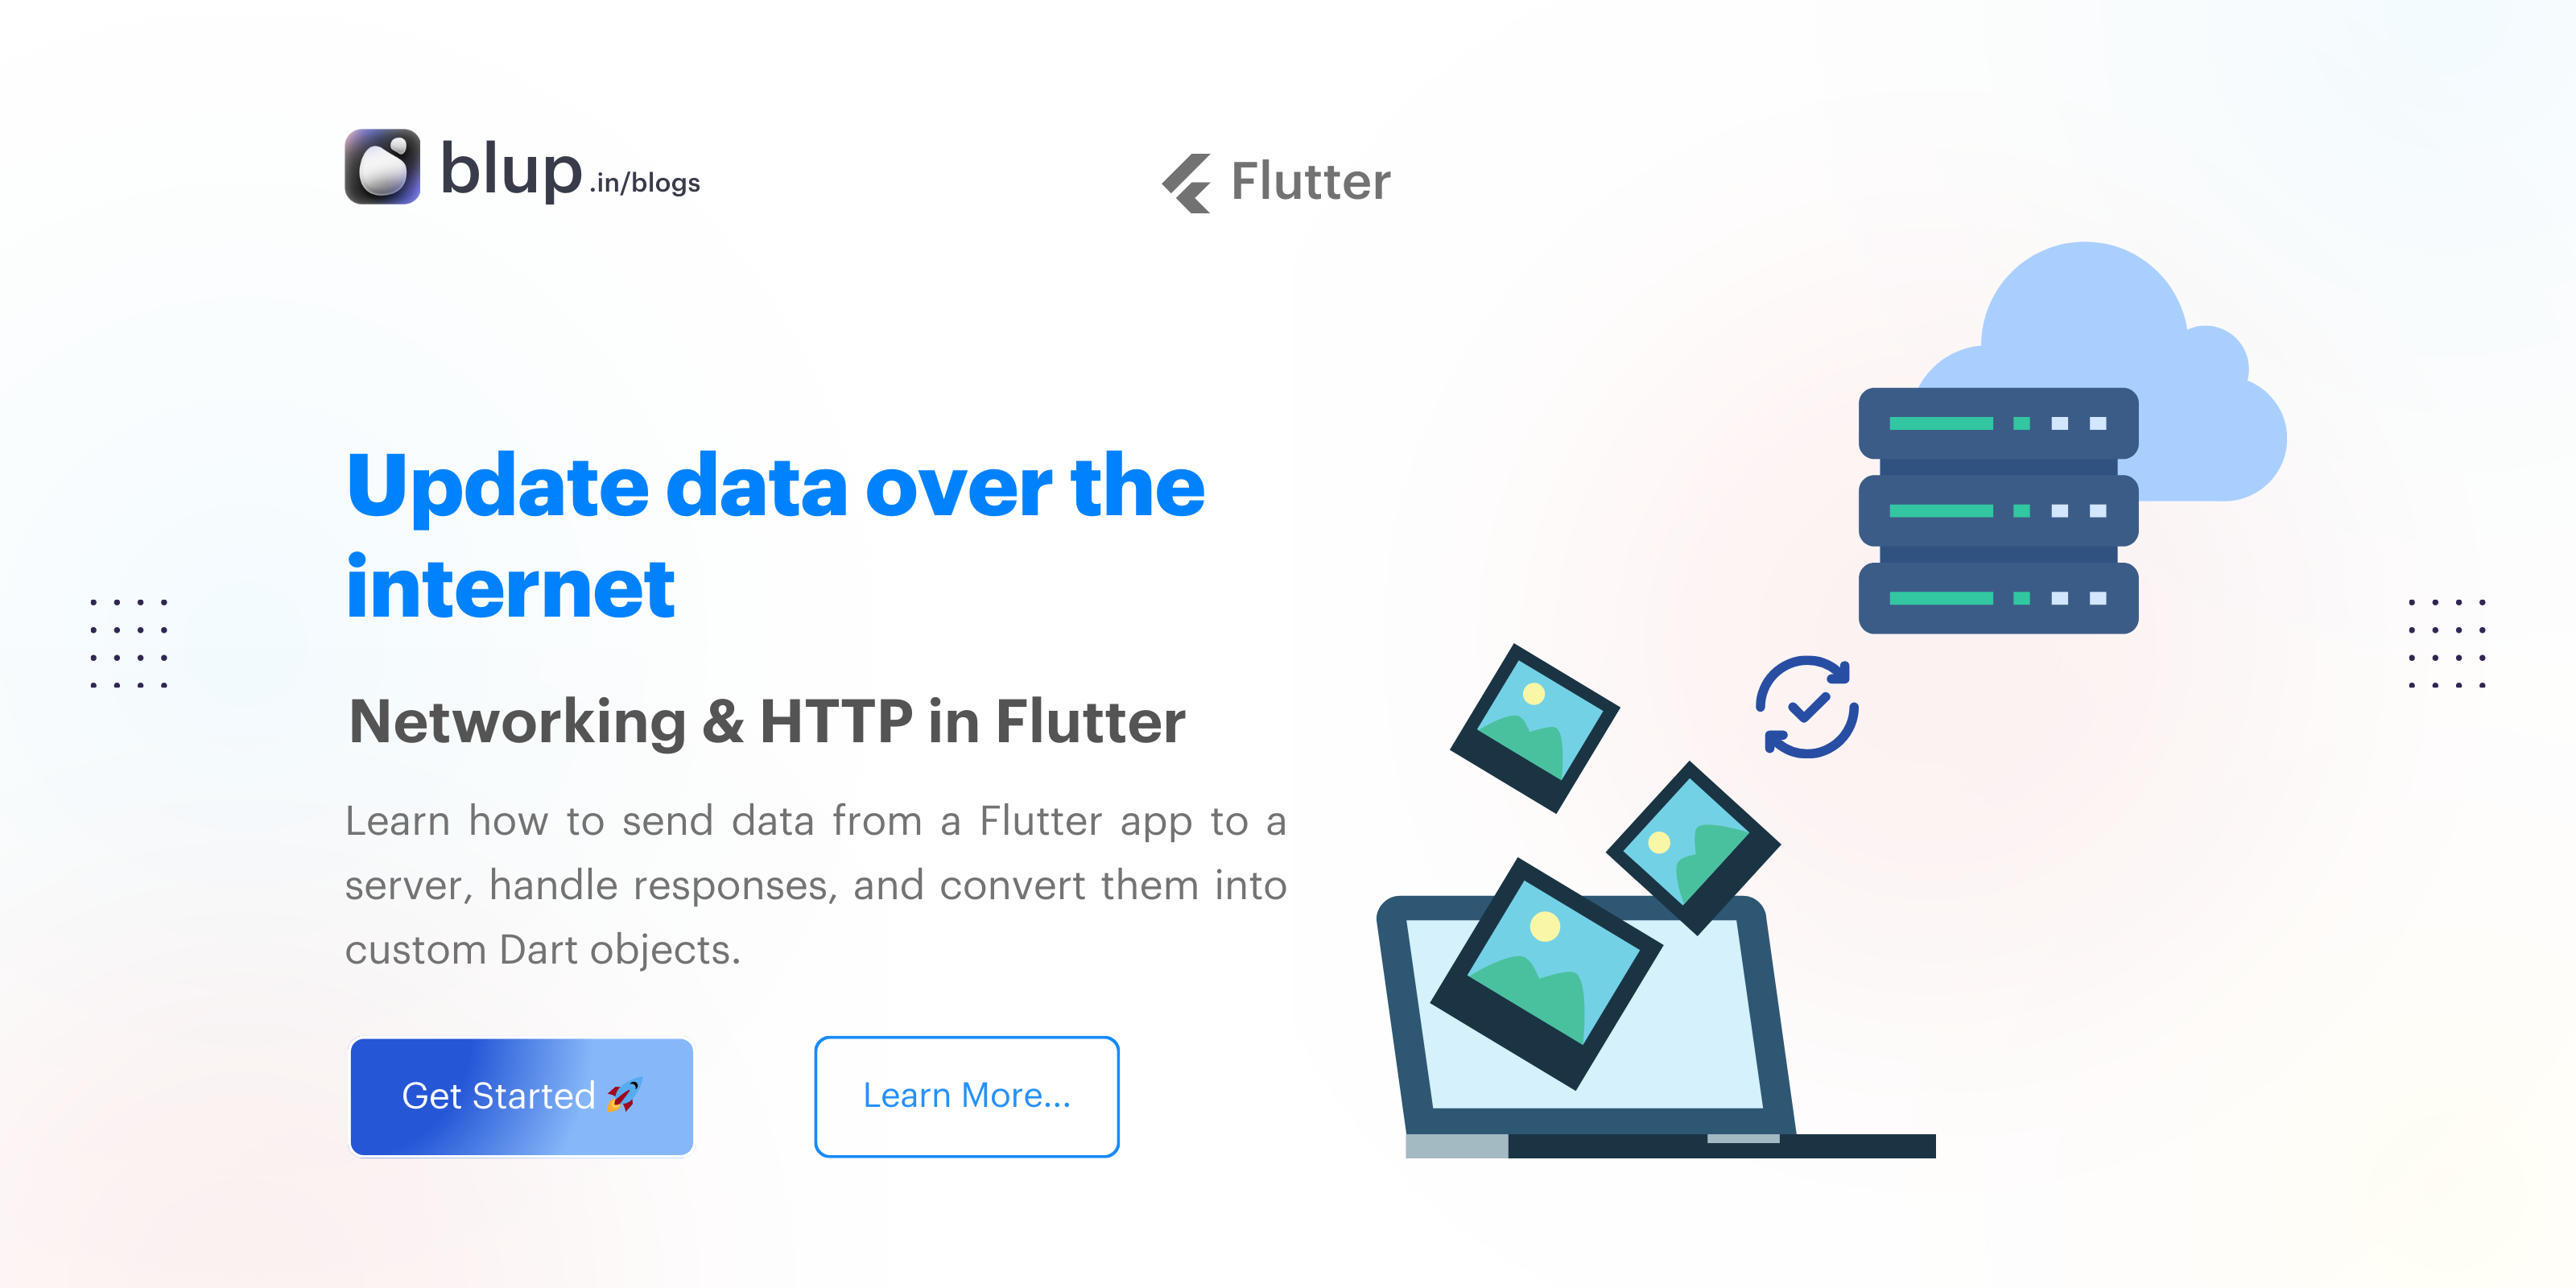
Networking & http in flutter: Sending Data to the Internet

Introduction
Introduction
Introduction
Introduction
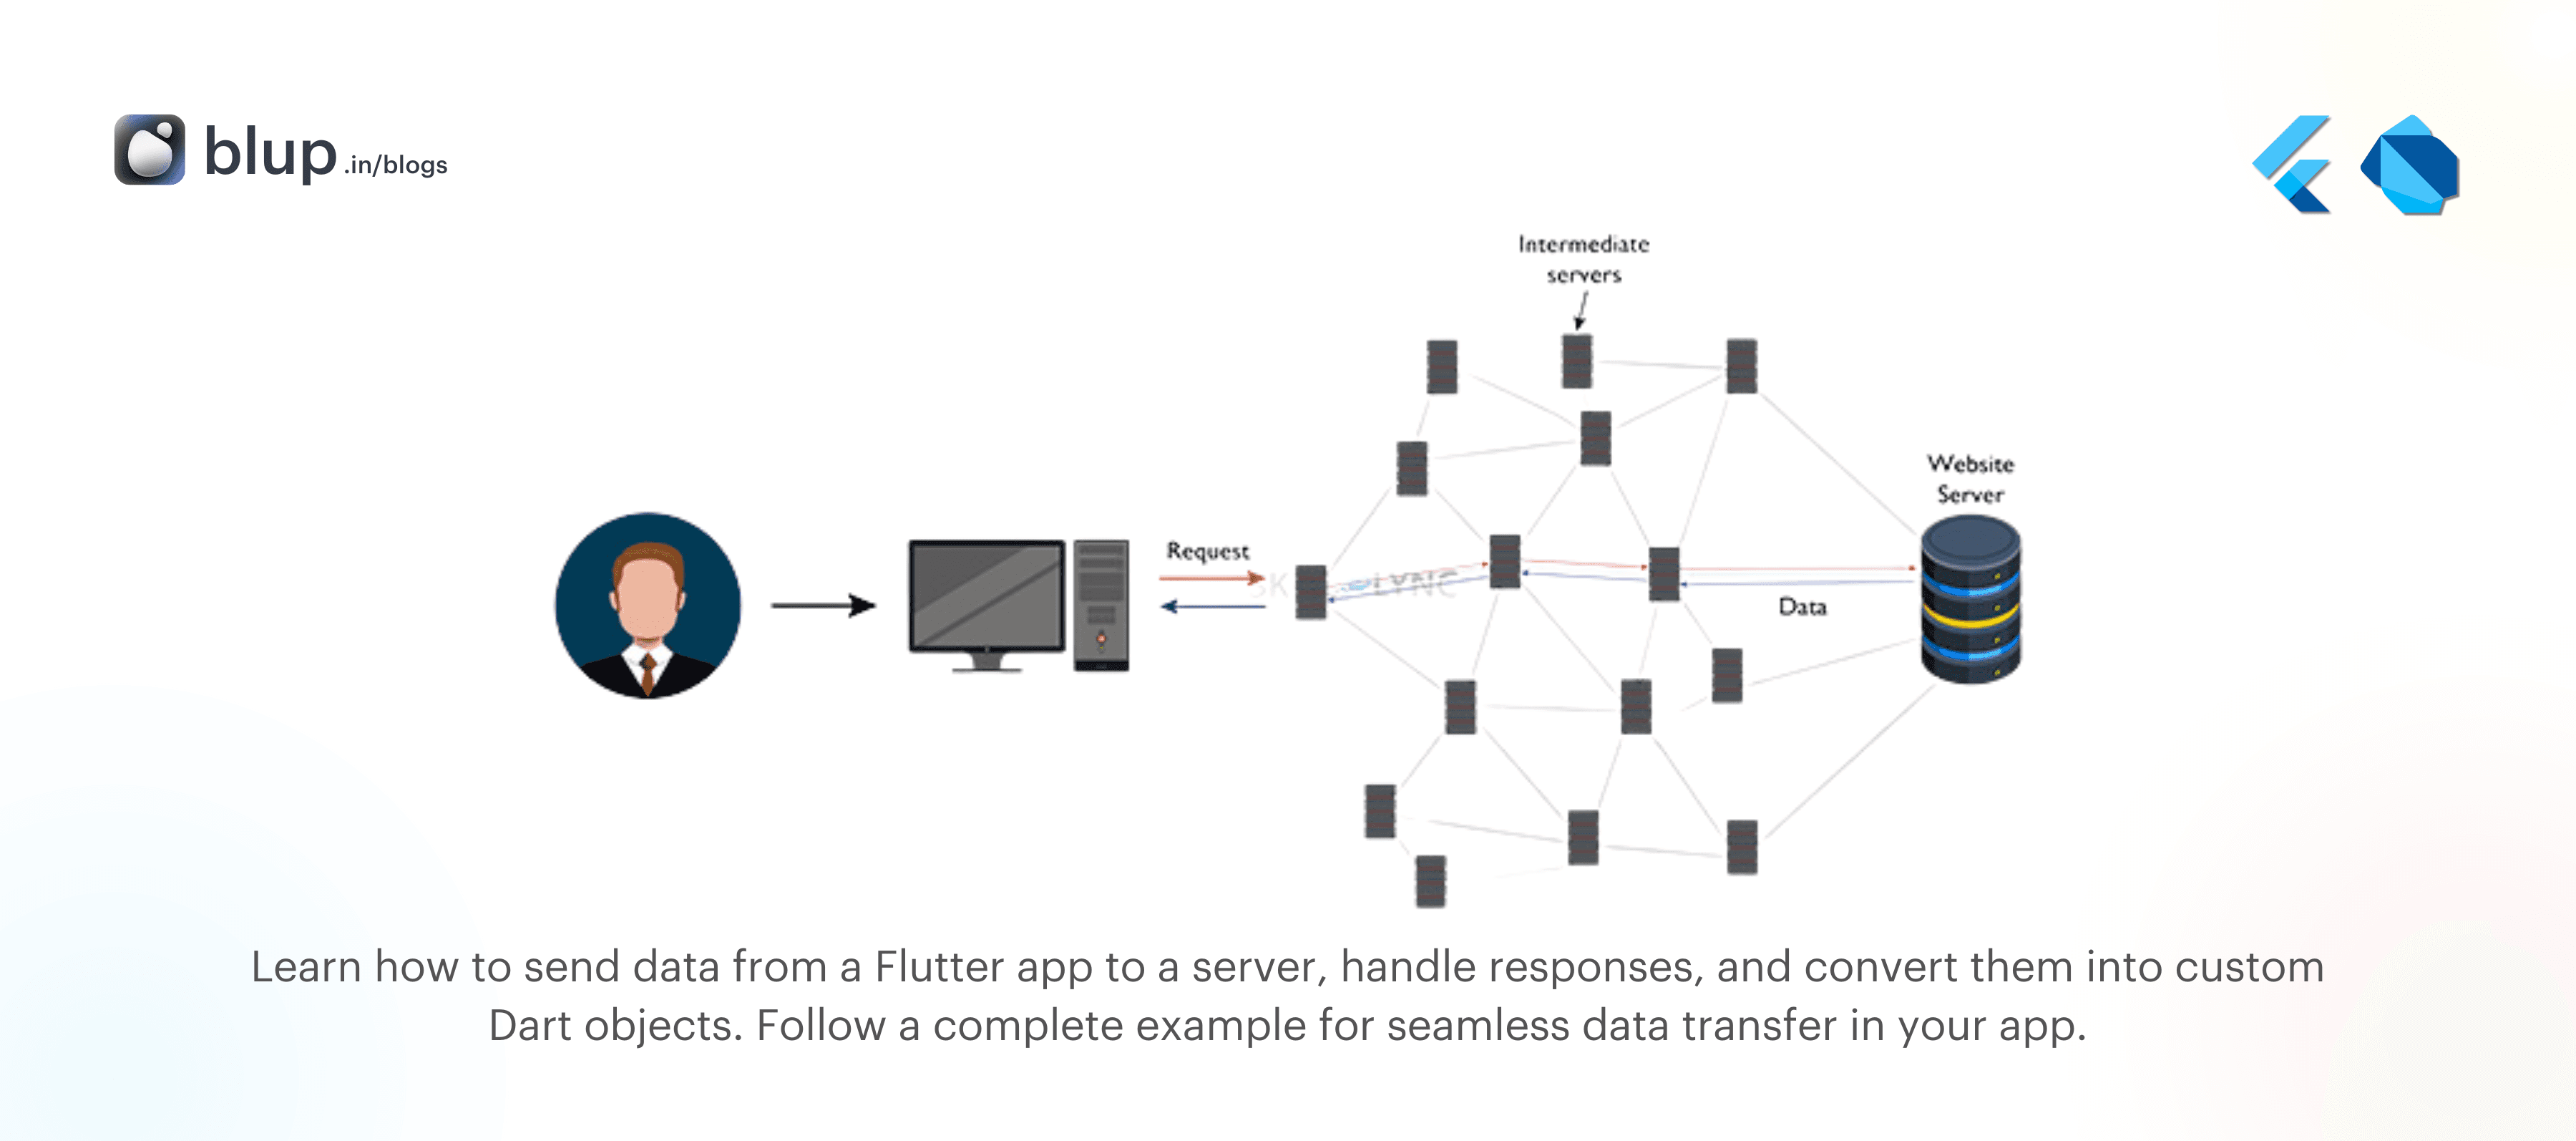
In modern app development, sending data to a server is a common requirement for various features such as user registration, submitting forms, or posting content. In Flutter, sending data to a server can be easily accomplished using the http package, which simplifies making HTTP requests.
This blog will guide you through the process of sending data to a server, handling responses, and displaying the result in your Flutter app. We will cover everything from installing the http package to convert server responses into Dart objects.
How do I send data to a server in Flutter?
What is the http package in Flutter?
Step 1: Adding the http Package
Step 1: Adding the http Package
Step 1: Adding the http Package
Step 1: Adding the http Package
Before sending data, the first step is to add the http package to your Flutter project. This package simplifies making HTTP requests, including sending data via POST.

To add the http package, open your pubspec.yaml file and add the following line under dependencies:
dependencies:
  http: ^0.13.3
After adding the package, run:
flutter pub getThis will install the package and make it available in your project.
How do I install the
httppackage in Flutter?
Before sending data, the first step is to add the http package to your Flutter project. This package simplifies making HTTP requests, including sending data via POST.

To add the http package, open your pubspec.yaml file and add the following line under dependencies:
dependencies:
  http: ^0.13.3
After adding the package, run:
flutter pub getThis will install the package and make it available in your project.
How do I install the
httppackage in Flutter?
Before sending data, the first step is to add the http package to your Flutter project. This package simplifies making HTTP requests, including sending data via POST.

To add the http package, open your pubspec.yaml file and add the following line under dependencies:
dependencies:
  http: ^0.13.3
After adding the package, run:
flutter pub getThis will install the package and make it available in your project.
How do I install the
httppackage in Flutter?
Before sending data, the first step is to add the http package to your Flutter project. This package simplifies making HTTP requests, including sending data via POST.

To add the http package, open your pubspec.yaml file and add the following line under dependencies:
dependencies:
  http: ^0.13.3
After adding the package, run:
flutter pub getThis will install the package and make it available in your project.
How do I install the
httppackage in Flutter?
Step 2: Sending Data to the Server
Step 2: Sending Data to the Server
Step 2: Sending Data to the Server
Step 2: Sending Data to the Server
Now that the http package is added, we can create a function that sends data to a server using the http.post() method.
Import dart:convert for access to jsonEncode to encode the data:
import 'dart:convert';Let’s assume we are sending a simple JSON object with a title to the server:
import 'package:http/http.dart' as http;
import 'dart:convert';

Future<http.Response> sendData(String title) async {
  final response = await http.post(
    Uri.parse('https://jsonplaceholder.typicode.com/albums'),
    headers: <String, String>{
      'Content-Type': 'application/json; charset=UTF-8',
    },
    body: jsonEncode(<String, String>{
      'title': title,
    }),
  );

  return response;
}
Here’s a breakdown of the code:
http.post()is used to send a POST request to the server.The
headersspecify that the data we’re sending is inJSONformat.jsonEncode()converts the data into a JSON object.
How do I send a POST request in Flutter?
Now that the http package is added, we can create a function that sends data to a server using the http.post() method.

Import dart:convert for access to jsonEncode to encode the data:
import 'dart:convert';Let’s assume we are sending a simple JSON object with a title to the server:
import 'package:http/http.dart' as http;
import 'dart:convert';

Future<http.Response> sendData(String title) async {
  final response = await http.post(
    Uri.parse('https://jsonplaceholder.typicode.com/albums'),
    headers: <String, String>{
      'Content-Type': 'application/json; charset=UTF-8',
    },
    body: jsonEncode(<String, String>{
      'title': title,
    }),
  );

  return response;
}
Here’s a breakdown of the code:
http.post()is used to send a POST request to the server.The
headersspecify that the data we’re sending is inJSONformat.jsonEncode()converts the data into a JSON object.
How do I send a POST request in Flutter?
Now that the http package is added, we can create a function that sends data to a server using the http.post() method.

Import dart:convert for access to jsonEncode to encode the data:
import 'dart:convert';Let’s assume we are sending a simple JSON object with a title to the server:
import 'package:http/http.dart' as http;
import 'dart:convert';

Future<http.Response> sendData(String title) async {
  final response = await http.post(
    Uri.parse('https://jsonplaceholder.typicode.com/albums'),
    headers: <String, String>{
      'Content-Type': 'application/json; charset=UTF-8',
    },
    body: jsonEncode(<String, String>{
      'title': title,
    }),
  );

  return response;
}
Here’s a breakdown of the code:
http.post()is used to send a POST request to the server.The
headersspecify that the data we’re sending is inJSONformat.jsonEncode()converts the data into a JSON object.
How do I send a POST request in Flutter?
Now that the http package is added, we can create a function that sends data to a server using the http.post() method.

Import dart:convert for access to jsonEncode to encode the data:
import 'dart:convert';Let’s assume we are sending a simple JSON object with a title to the server:
import 'package:http/http.dart' as http;
import 'dart:convert';

Future<http.Response> sendData(String title) async {
  final response = await http.post(
    Uri.parse('https://jsonplaceholder.typicode.com/albums'),
    headers: <String, String>{
      'Content-Type': 'application/json; charset=UTF-8',
    },
    body: jsonEncode(<String, String>{
      'title': title,
    }),
  );

  return response;
}
Here’s a breakdown of the code:
http.post()is used to send a POST request to the server.The
headersspecify that the data we’re sending is inJSONformat.jsonEncode()converts the data into a JSON object.
How do I send a POST request in Flutter?
Step 3: Converting the Response into a Dart Object
Step 3: Converting the Response into a Dart Object
Step 3: Converting the Response into a Dart Object
Step 3: Converting the Response into a Dart Object
After sending data, the server typically responds with information that we can use. To simplify working with the response, we convert the returned JSON data into a Dart object.
Let’s define a class called Album to represent the data we receive:
class Album {
  final int id;
  final String title;

  const Album({required this.id, required this.title});

  factory Album.fromJson(Map<String, dynamic> json) {
    return switch (json) {
      {
        'id': int id,
        'title': String title,
      } =>
        Album(
          id: id,
          title: title,
        ),
      _ => throw const FormatException('Failed to load album.'),
    };
  }
}
The Album the class has fields for the id and title of the album.
The
fromJsonfactory constructor creates anAlbumobject from the server’s JSON response.
Step 4: Handling the http.Response
Step 4: Handling the http.Response
Step 4: Handling the http.Response
Step 4: Handling the http.Response
Once the data is sent, the server’s response can be handled by checking the status code. A common code for successful POST requests is 201, meaning the resource was created.
Here’s how to process the response:
Future<Album> createAlbum(String title) async {
final response = await http.post(
Uri.parse('https://jsonplaceholder.typicode.com/albums'),
headers: <String, String>{
'Content-Type': 'application/json; charset=UTF-8',
},
body: jsonEncode(<String, String>{
'title': title,
}),
);
if (response.statusCode == 201) {
// If the server did return a 201 CREATED response,
// then parse the JSON.
return Album.fromJson(jsonDecode(response.body) as Map<String, dynamic>);
} else {
// If the server did not return a 201 CREATED response,
// then throw an exception.
throw Exception('Failed to create album.');
}
}If the status code is 201, the response body is decoded and converted into an Album object.
If the request fails, an exception is thrown.
What is the status code 201 in HTTP?
How do I handle server responses in Flutter?
Step 5: Getting Input from Users
Step 5: Getting Input from Users
Step 5: Getting Input from Users
Step 5: Getting Input from Users
Next, create a TextField to enter a title and a ElevatedButton to send data to server. Also define a TextEditingController to read the user input from a TextField.
When the ElevatedButton is pressed, the _futureAlbum is set to the value returned by createAlbum() method.
TextEditingController titleController = TextEditingController();
@override
Widget build(BuildContext context) {
return Scaffold(
appBar: AppBar(title: Text('Send Data to Server')),
body: Padding(
padding: EdgeInsets.all(16.0),
child: Column(
children: <Widget>[
TextField(
controller: titleController,
decoration: InputDecoration(labelText: 'Album Title'),
),
ElevatedButton(
onPressed: () async {
Album album = await createAlbum(titleController.text);
print('Album created: ${album.title}');
},
child: Text('Send Data'),
),
],
),
),
);
}On pressing the Create Data button, make the network request, which sends the data in the TextField to the server as a POST request. The Future, _futureAlbum, is used in the next step.
Step 6: Displaying the Response on Screen
Step 6: Displaying the Response on Screen
Step 6: Displaying the Response on Screen
Step 6: Displaying the Response on Screen
Now that we have the data being sent to the server, we’ll display the response using the FutureBuilder widget. FutureBuilder listens for changes in the future and updates the UI accordingly.
You must provide two parameters:
The
Futureyou want to work with. In this case, the future returned from thecreateAlbum()function.A
builderfunction that tells Flutter what to render, depending on the state of theFuture: loading, success, or error.
@override
Widget build(BuildContext context) {
return Scaffold(
appBar: AppBar(title: const Text('Create Album')),
body: Padding(
padding: const EdgeInsets.all(16.0),
child: Column(
mainAxisAlignment: MainAxisAlignment.center,
children: <Widget>[
TextField(
controller: _controller,
decoration: const InputDecoration(hintText: 'Enter Title'),
),
ElevatedButton(
onPressed: () {
setState(() {
_futureAlbum = createAlbum(_controller.text);
});
},
child: const Text('Create Data'),
),
Padding(
padding: const EdgeInsets.only(top: 20.0),
child: FutureBuilder<Album>(
future: _futureAlbum,
builder: (context, snapshot) {
if (snapshot.connectionState == ConnectionState.waiting) {
return const CircularProgressIndicator();
} else if (snapshot.hasData) {
return Text('Created Album: ${snapshot.data!.title}');
} else if (snapshot.hasError) {
return Text('Error: ${snapshot.error}');
}
return const SizedBox.shrink(); // Placeholder if there's no data or error
},
),
),
],
),
),
);
}Explanation:
The
FutureBuilderwidget monitors the future returned bycreateAlbum().If the future is still loading, it shows a
CircularProgressIndicator.When the future is resolved and data is available, it displays the album’s title.
If an error occurs (such as network issues or an invalid server response), it displays an error message.
Complete example
Complete example
Complete example
Complete example
Here’s the complete code that ties everything together:
import 'dart:async';
import 'dart:convert';
import 'package:flutter/material.dart';
import 'package:http/http.dart' as http;
Future<Album> createAlbum(String title) async {
final response = await http.post(
Uri.parse('https://jsonplaceholder.typicode.com/albums'),
headers: <String, String>{
'Content-Type': 'application/json; charset=UTF-8',
},
body: jsonEncode(<String, String>{
'title': title,
}),
);
if (response.statusCode == 201) {
// If the server did return a 201 CREATED response,
// then parse the JSON.
return Album.fromJson(jsonDecode(response.body) as Map<String, dynamic>);
} else {
// If the server did not return a 201 CREATED response,
// then throw an exception.
throw Exception('Failed to create album.');
}
}
class Album {
  final int id;
  final String title;

  const Album({required this.id, required this.title});

  factory Album.fromJson(Map<String, dynamic> json) {
    return switch (json) {
      {
        'id': int id,
        'title': String title,
      } =>
        Album(
          id: id,
          title: title,
        ),
      _ => throw const FormatException('Failed to load album.'),
    };
  }
}
void main() {
runApp(const MyApp());
}
class MyApp extends StatefulWidget {
const MyApp({super.key});
@override
State<MyApp> createState() {
return _MyAppState();
}
}
class _MyAppState extends State<MyApp> {
final TextEditingController _controller = TextEditingController();
Future<Album>? _futureAlbum;
@override
Widget build(BuildContext context) {
return MaterialApp(
title: 'Create Data Example',
theme: ThemeData(
colorScheme: ColorScheme.fromSeed(seedColor: Colors.deepPurple),
),
home: Scaffold(
appBar: AppBar(
title: const Text('Create Data Example'),
),
body: Container(
alignment: Alignment.center,
padding: const EdgeInsets.all(8),
child: (_futureAlbum == null) ? buildColumn() : buildFutureBuilder(),
),
),
);
}
Column buildColumn() {
return Column(
mainAxisAlignment: MainAxisAlignment.center,
children: <Widget>[
TextField(
controller: _controller,
decoration: const InputDecoration(hintText: 'Enter Title'),
),
ElevatedButton(
onPressed: () {
setState(() {
_futureAlbum = createAlbum(_controller.text);
});
},
child: const Text('Create Data'),
),
],
);
}
FutureBuilder<Album> buildFutureBuilder() {
return FutureBuilder<Album>(
future: _futureAlbum,
builder: (context, snapshot) {
if (snapshot.hasData) {
return Text(snapshot.data!.title);
} else if (snapshot.hasError) {
return Text('${snapshot.error}');
}
return const CircularProgressIndicator();
},
);
}
}This example demonstrates how to send data to the server, convert the response into a Dart object, and display it in your Flutter app.
Conclusion
Conclusion
Conclusion
Conclusion
Sending data to the internet in Flutter is a critical feature that can be easily achieved using the http package. This blog walked you through adding the package, sending data to a server, converting responses, and displaying them in your app.
By following these steps, you’ll be able to add similar functionality to your apps, enabling seamless communication with APIs and external servers.
Table of content
© 2021-25 Blupx Private Limited.
All rights reserved.
© 2021-25 Blupx Private Limited.
All rights reserved.
© 2021-25 Blupx Private Limited.
All rights reserved.


