

Build Scalable Flutter Apps with MobX: Efficient State Management
Introduction
Introduction
Introduction
Introduction
Building scalable and efficient Flutter apps requires mastering state management, a vital part of handling dynamic data and user interactions. As your app grows, so does the complexity of managing its state, which can impact performance and development speed. Choosing the right state management approach is essential to ensure smooth user experiences and maintainability.
Enter MobX, a powerful reactive state management library that allows you to effortlessly manage app state with minimal boilerplate code. MobX enables Flutter developers to handle complex UI updates by reacting to changes in application data in real-time, ensuring that only the necessary parts of the UI update when needed.
In this blog, we’ll explore why MobX is the perfect choice for building scalable Flutter apps. You’ll learn the basics of MobX, how to integrate it into your Flutter project, and best practices for creating dynamic, responsive UIs. Whether you're a seasoned developer or new to Flutter, this guide will help you implement efficient state management using MobX.
What is MobX?
What is MobX?
What is MobX?
What is MobX?
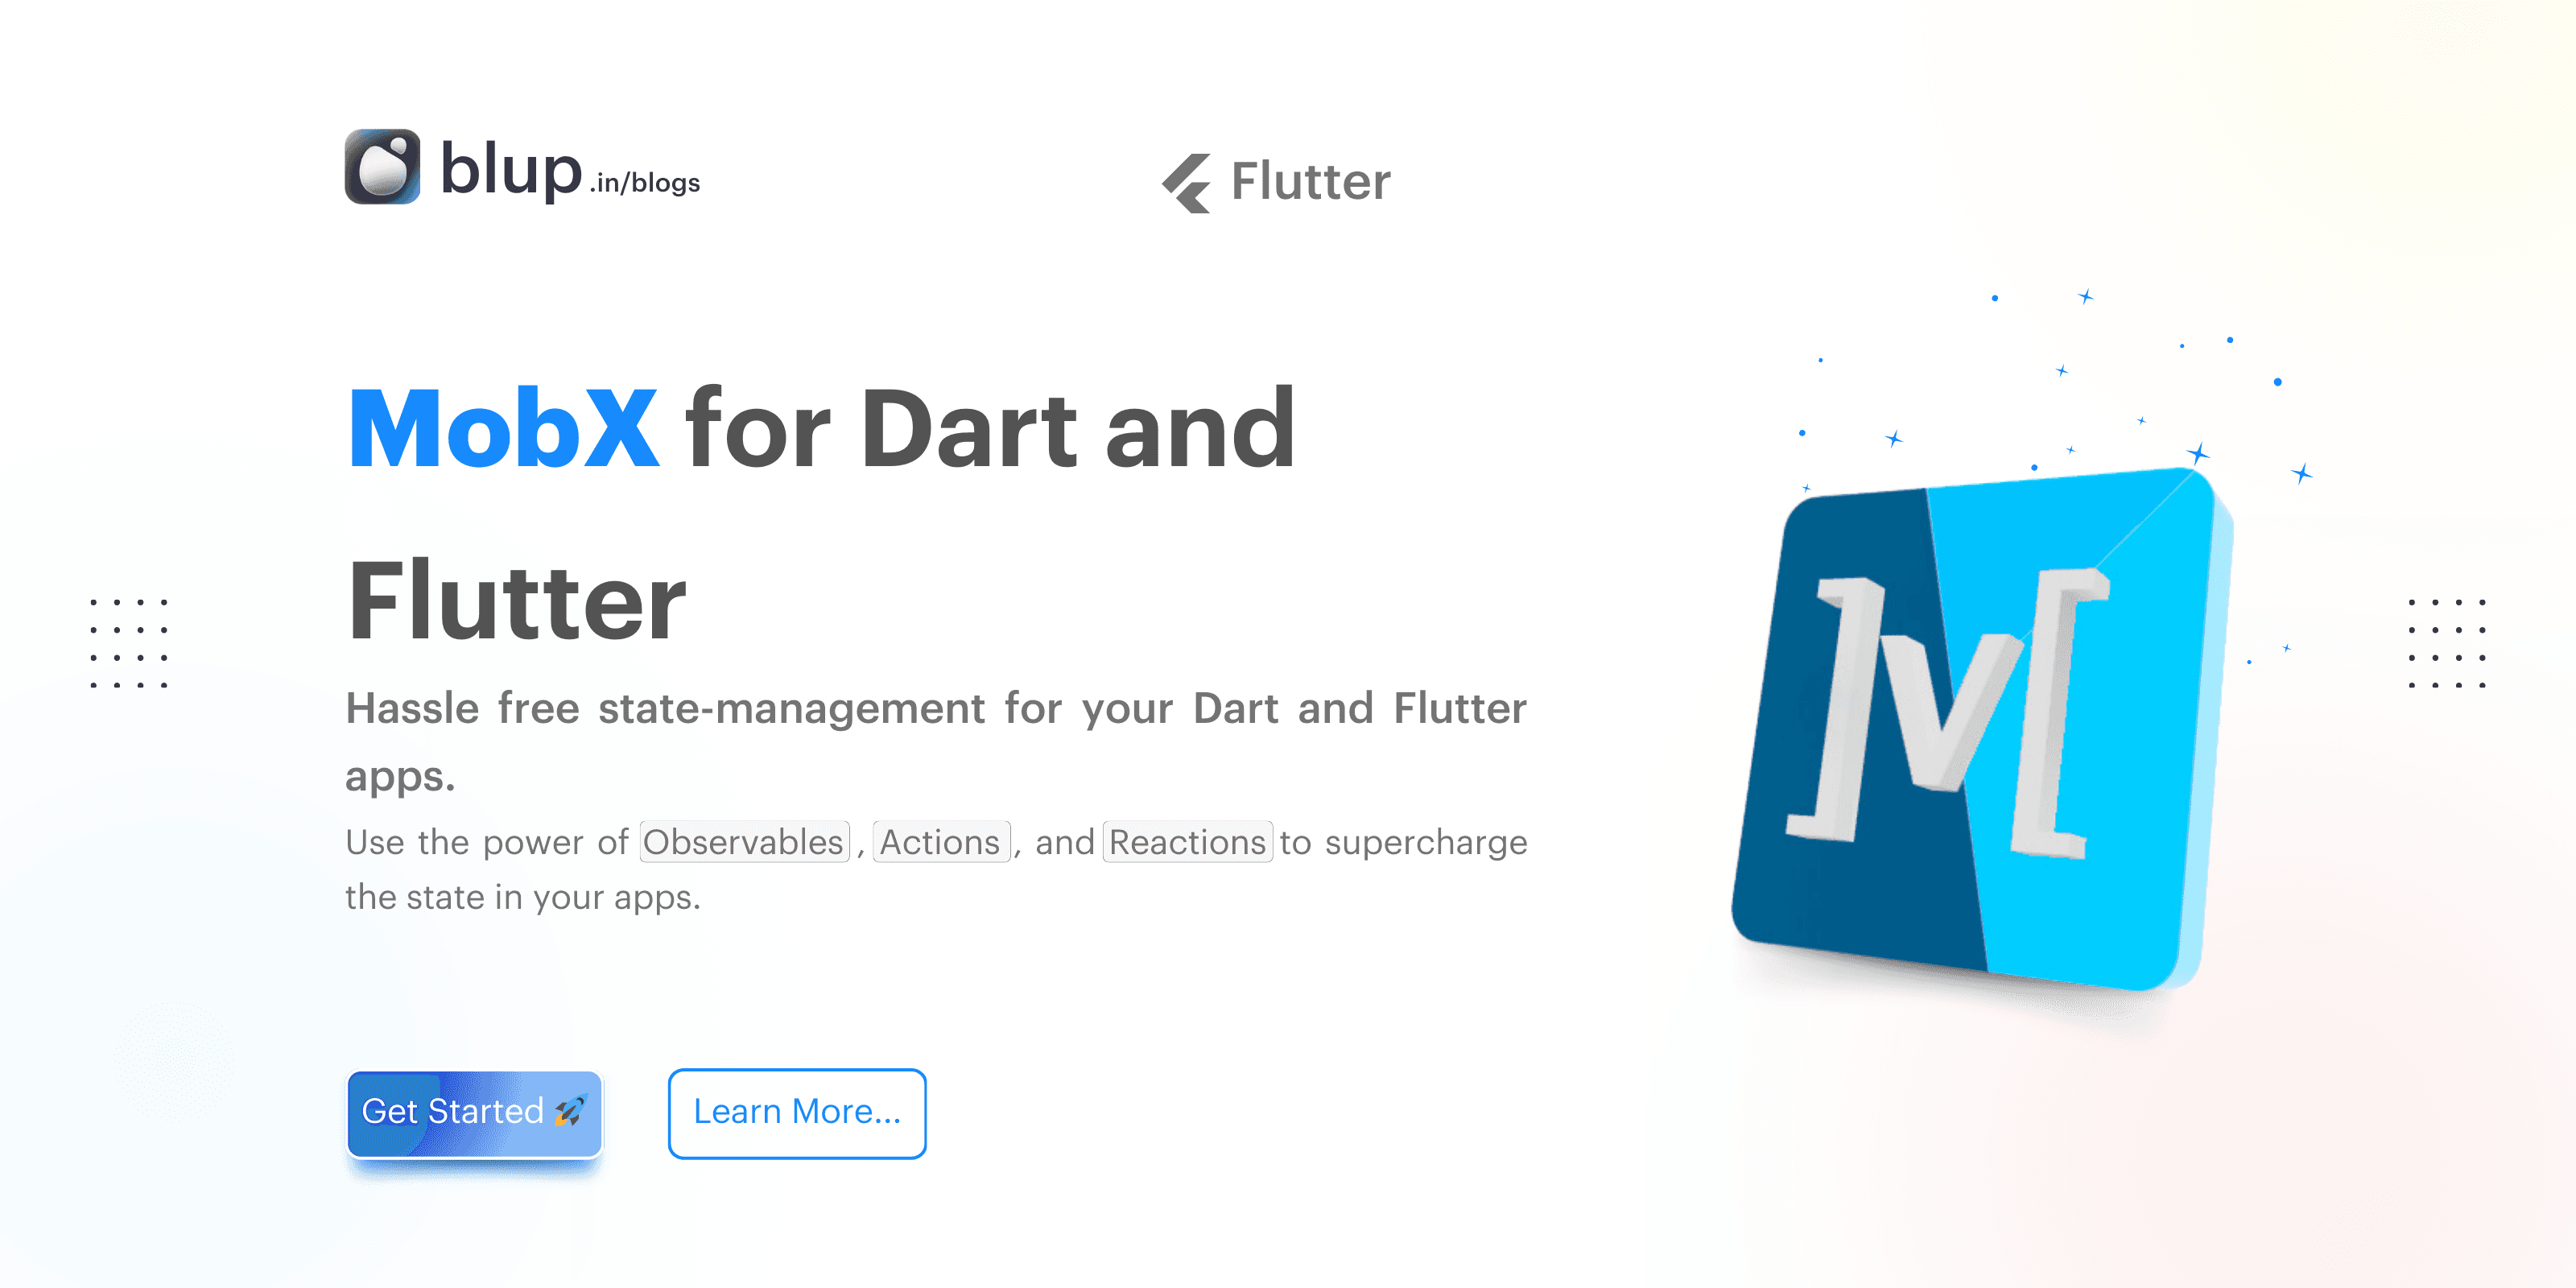
MobX is a powerful state management library designed to simplify how you manage and react to state changes in your Flutter applications.
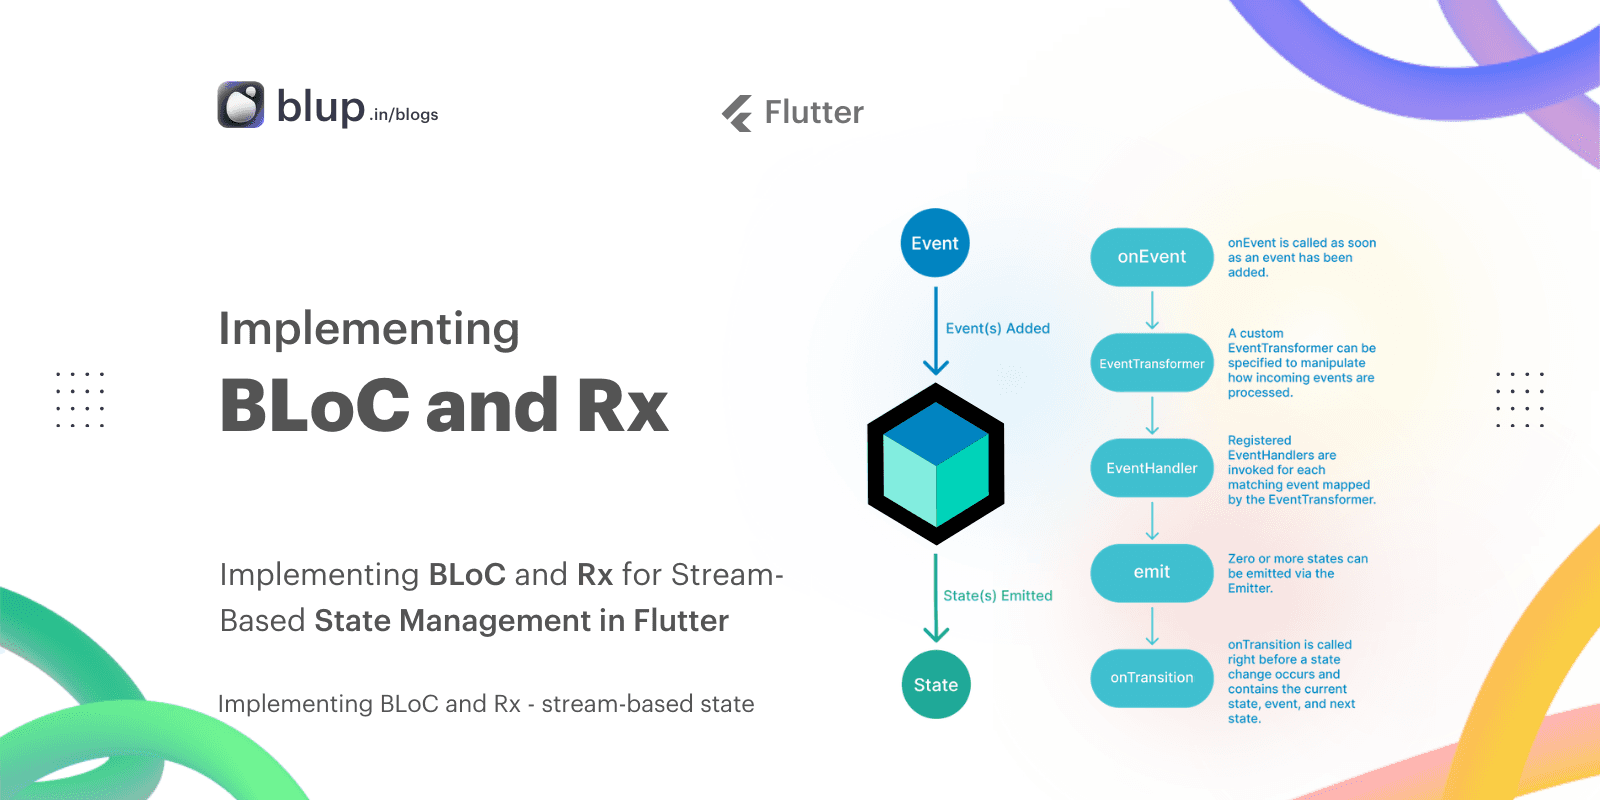
At its core, MobX revolves around three main principles:
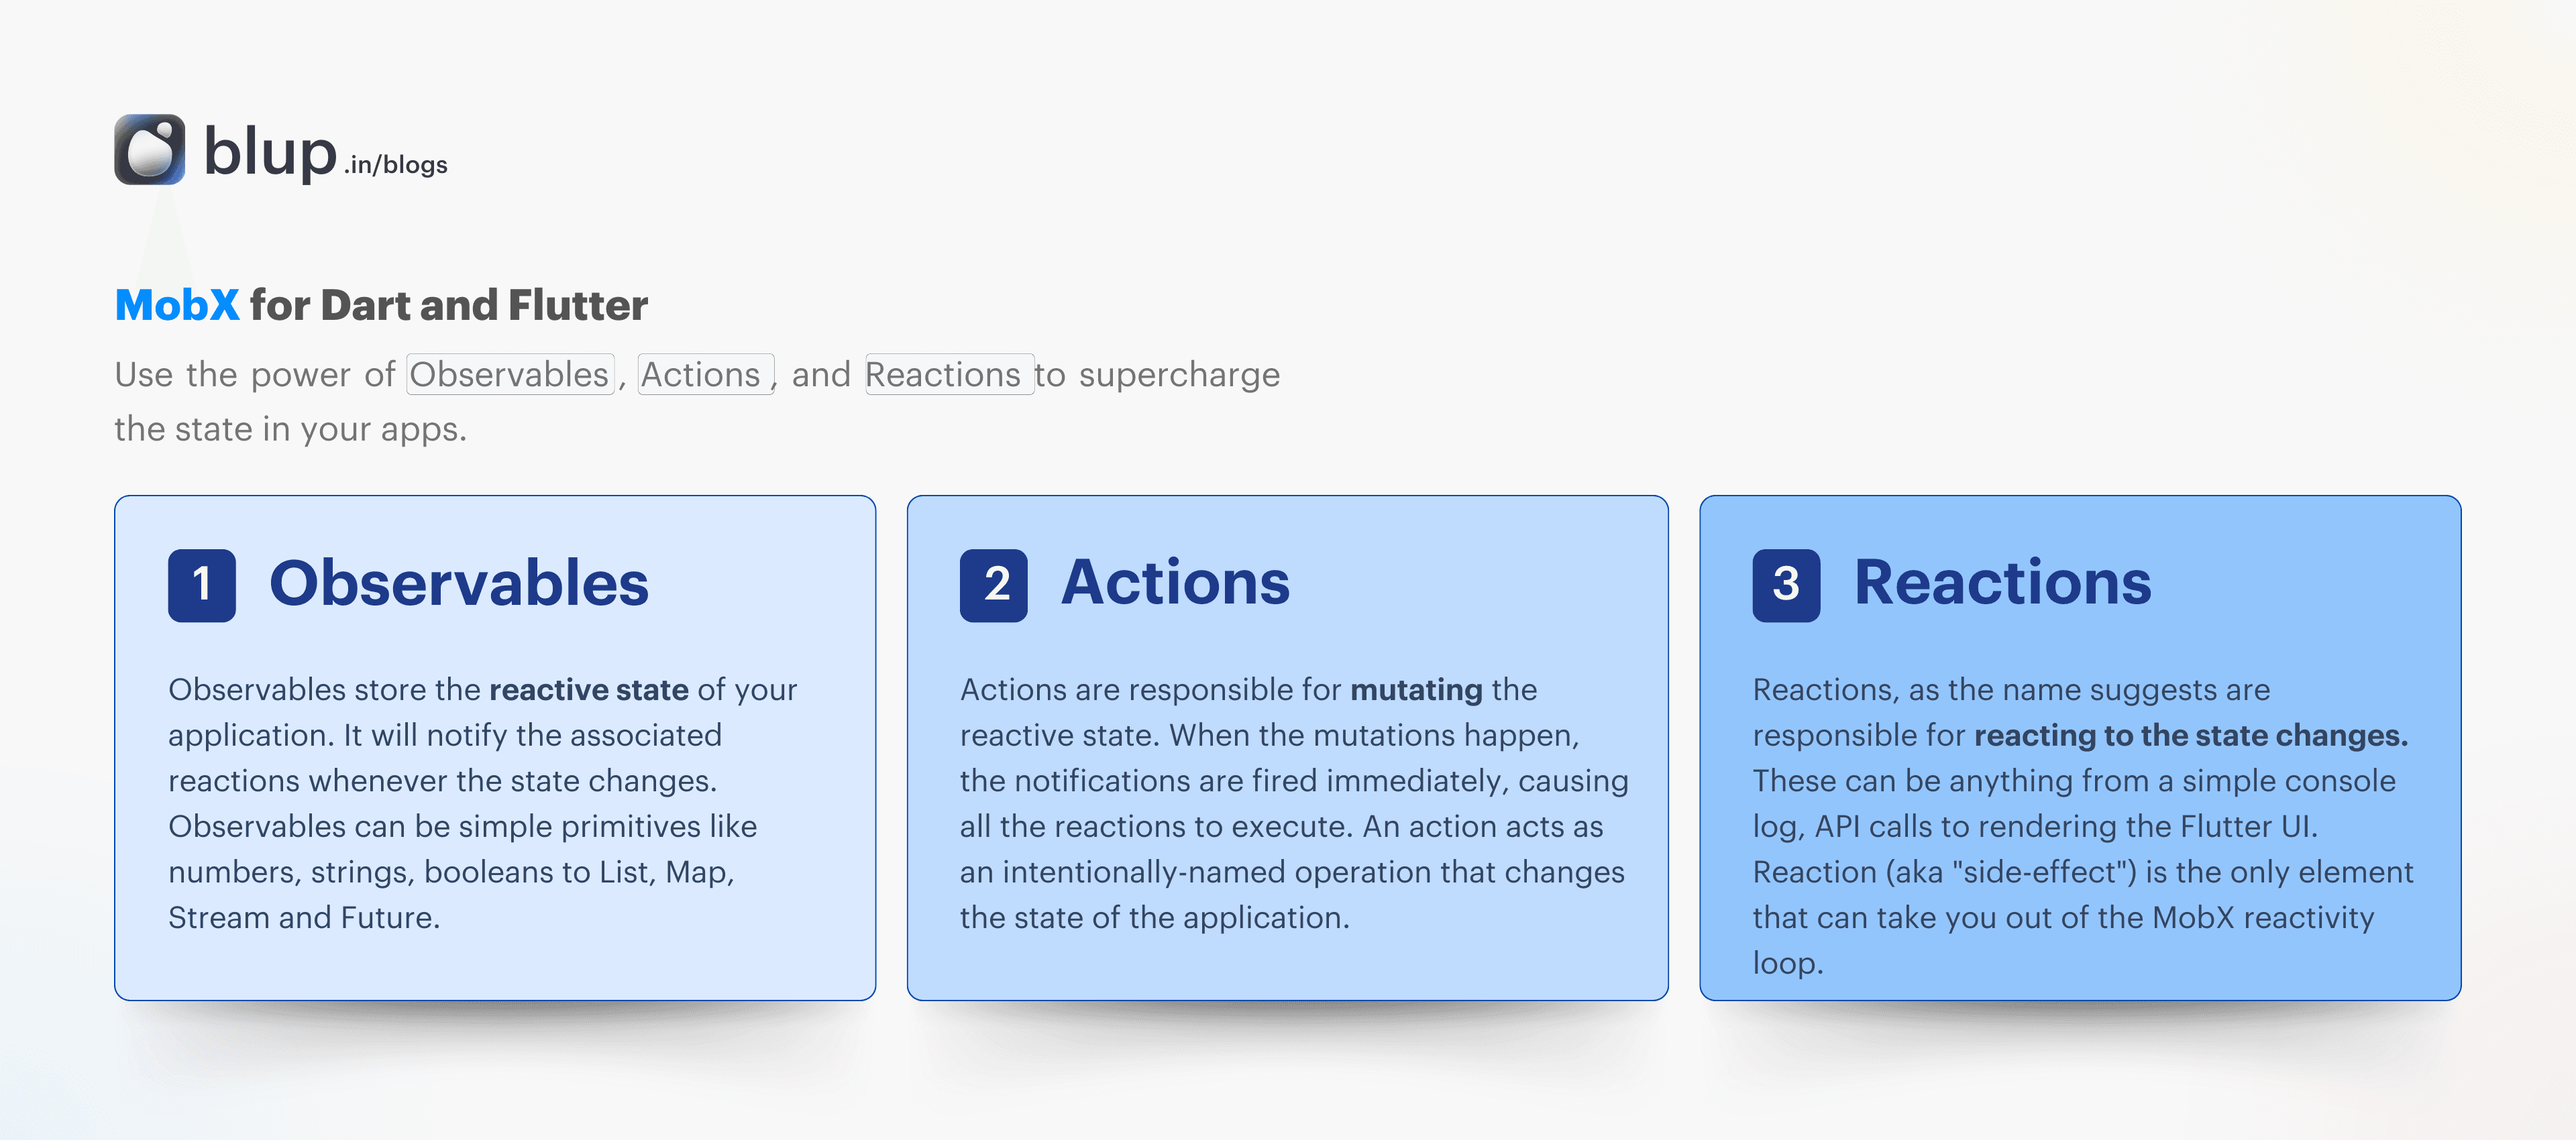
Observables: These are state variables that MobX monitors for changes. When there are observable updates, MobX tracks these changes to ensure that the UI reflects the latest state.
Actions: Actions are functions that modify observables. They encapsulate the logic for updating the state, making it easier to manage complex state changes.
Reactions: Reactions are automatic responses to observable changes. They help keep your UI in sync with the state without manually updating it.
In comparison to other state management solutions like BLoC, Redux, and Provider, MobX offers a more declarative approach. While BLoC and Redux can involve significant boilerplate code and complex setup, MobX’s reactive nature allows for simpler, more intuitive state management. Provider is easier to use but lacks some of the advanced reactivity features MobX provides.
Why choose MobX for Flutter apps?
Its reactive system ensures that your app remains responsive and efficient as it scales, making it a standout choice for dynamic UIs.
MobX is a powerful state management library designed to simplify how you manage and react to state changes in your Flutter applications.
At its core, MobX revolves around three main principles:
Observables: These are state variables that MobX monitors for changes. When there are observable updates, MobX tracks these changes to ensure that the UI reflects the latest state.
Actions: Actions are functions that modify observables. They encapsulate the logic for updating the state, making it easier to manage complex state changes.
Reactions: Reactions are automatic responses to observable changes. They help keep your UI in sync with the state without manually updating it.
In comparison to other state management solutions like BLoC, Redux, and Provider, MobX offers a more declarative approach. While BLoC and Redux can involve significant boilerplate code and complex setup, MobX’s reactive nature allows for simpler, more intuitive state management. Provider is easier to use but lacks some of the advanced reactivity features MobX provides.
Why choose MobX for Flutter apps?
Its reactive system ensures that your app remains responsive and efficient as it scales, making it a standout choice for dynamic UIs.
Benefits of Using MobX in Flutter
Benefits of Using MobX in Flutter
Benefits of Using MobX in Flutter
Benefits of Using MobX in Flutter
If you’ve ever struggled with state management in Flutter, you know how critical it is to choose the right tool. MobX offers a range of benefits that make it an excellent choice for building scalable, high-performance Flutter apps.
1. Reactive State Updates: With MobX, your UI responds automatically to changes in the state. This means less manual intervention and a more fluid, real-time user experience.
2. Simplified and Clean Architecture: MobX reduces boilerplate code by focusing on observables and reactions. This results in a cleaner, more maintainable codebase that’s easier to understand and debug.
3. Efficient Handling of Complex UI Updates: MobX’s fine-grained reactivity ensures that only the parts of your UI that need to update do so, optimizing performance and reducing unnecessary renders.
4. Improved Performance for Dynamic Applications: By minimizing unnecessary updates and handling complex interactions gracefully, MobX enhances the performance of dynamic, data-driven apps.
Adopting MobX for state management not only streamlines your development process but also elevates your app’s performance and scalability.
Getting Started with MobX in Flutter
Getting Started with MobX in Flutter
Getting Started with MobX in Flutter
Getting Started with MobX in Flutter
Ready to enhance your Flutter apps with reactive state management? Here’s a step-by-step guide to get you started with MobX.
1. Installing MobX and Flutter Packages
To begin, you'll need to add MobX and its dependencies to your Flutter project. Open your pubspec.yaml file and include the following packages:
dependencies:
  mobx: ^2.0.0
  flutter_mobx: ^2.0.0

dev_dependencies:
  build_runner: ^2.0.0
  mobx_codegen: ^2.0.0
After saving the file, run flutter pub get to install the packages.
2. Setting Up MobX Stores and Observables
Now, you’ll define a MobX store to manage your application state. Create a Dart file, e.g., counter_store.dart, and set up your store:
import 'package:mobx/mobx.dart';

part 'counter_store.g.dart'; // Required for code generation

class CounterStore = _CounterStore with _$CounterStore;

abstract class _CounterStore with Store {
  @observable
  int count = 0;

  @action
  void increment() {
    count++;
  }
}
Here’s what’s happening:
@observable: Markscountas a reactive property.@action: Indicates thatincrementis a method that modifies state.
Run the command flutter pub run build_runner build to generate the necessary files for MobX.
With MobX installed and set up, you’re ready to build scalable, reactive Flutter apps.
Building a Simple MobX App in Flutter
Building a Simple MobX App in Flutter
Building a Simple MobX App in Flutter
Building a Simple MobX App in Flutter
In this guide, we’ll create a playful Dice app using MobX in Flutter. The app will allow users to roll two dice with a button press and display the results. Here’s how you can set up MobX for this purpose:
1. Defining Observables, Actions, and Computed Properties
First, let’s create a MobX store to manage the dice state. This store will include observables for the dice values, an action to roll the dice, and a computed property to sum the values.
Create a new Dart file named dice_counter.dart:
import 'dart:math';
import 'package:mobx/mobx.dart';

part 'dice_counter.g.dart'; // Required for MobX code generation

class DiceCounter = _DiceCounter with _$DiceCounter;

abstract class _DiceCounter with Store {
  @observable
  int left = Random().nextInt(6) + 1;

  @observable
  int right = Random().nextInt(6) + 1;

  @computed
  int get total => left + right;

  @action
  void roll() {
    left = Random().nextInt(6) + 1;
    right = Random().nextInt(6) + 1;
  }
}
Observables:
leftandrighthold the values of each die, initialized with random numbers from 1 to 6.Computed Property:
totalcalculates the sum ofleftandright.Action:
roll()updates the dice values.
Generate the necessary code using:
flutter pub run build_runner build2. Integrating the Store with the UI
Next, let’s integrate the DiceCounter store into a Flutter widget to display and interact with the dice.
Create a new Dart file named dice_view.dart:
import 'package:flutter/material.dart';
import 'package:flutter_mobx/flutter_mobx.dart';
import 'dice_counter.dart';

final diceCounter = DiceCounter();

class DiceView extends StatelessWidget {
  @override
  Widget build(BuildContext context) {
    return Scaffold(
      appBar: AppBar(
        title: Text('Dice Roller'),
      ),
      body: Center(
        child: Column(
          mainAxisAlignment: MainAxisAlignment.center,
          children: <Widget>[
            Row(
              mainAxisAlignment: MainAxisAlignment.center,
              children: <Widget>[
                Expanded(
                  child: TextButton(
                    onPressed: diceCounter.roll,
                    child: Observer(
                      builder: (_) => Image.asset('assets/dice${diceCounter.left}.png'),
                    ),
                  ),
                ),
                Expanded(
                  child: TextButton(
                    onPressed: diceCounter.roll,
                    child: Observer(
                      builder: (_) => Image.asset('assets/dice${diceCounter.right}.png'),
                    ),
                  ),
                ),
              ],
            ),
            Padding(
              padding: const EdgeInsets.all(16),
              child: Observer(
                builder: (_) => Text(
                  'Total: ${diceCounter.total}',
                  style: TextStyle(
                    fontWeight: FontWeight.bold,
                    color: Colors.black87,
                    fontSize: 24,
                  ),
                ),
              ),
            ),
          ],
        ),
      ),
    );
  }
}ObserverWidgets: These reactively update the UI wheneverleft,right, ortotalchanges.TextButtonWidgets: Trigger theroll()action to update dice values.
Summary
You’ve successfully built a Dice app using MobX in Flutter. This app demonstrates how MobX simplifies state management by using observables, actions, and computed properties, allowing for a dynamic and responsive user experience.
Scaling Your Flutter App with MobX
Scaling Your Flutter App with MobX
Scaling Your Flutter App with MobX
Scaling Your Flutter App with MobX
As your Flutter application grows, managing the state effectively becomes crucial. MobX is not just for small projects; it excels in scaling large applications with complex state needs.
Handling Multiple Stores: In large apps, separating concerns is key. MobX allows you to create multiple stores, each managing different parts of your app's state, such as user data, app settings, or features. This modular approach keeps your code organized and easier to maintain.
Organizing Complex App Logic: With MobX, you can manage intricate app logic by distributing responsibilities across various stores. This modular structure facilitates a clear separation of concerns, making your app's state management more intuitive and manageable.
Best Practices:
Modularize Your Stores: Create distinct stores for different features or components to avoid clutter.
Manage Dependencies Carefully: Use dependency injection to provide stores where needed, avoiding tight coupling.
By leveraging MobX’s capabilities, you can build scalable, maintainable Flutter apps that handle complex state interactions seamlessly.
Testing and Debugging MobX in Flutter
Testing and Debugging MobX in Flutter
Testing and Debugging MobX in Flutter
Testing and Debugging MobX in Flutter
Testing MobX State Management: To ensure your MobX-based state management is robust, writing unit tests for your stores and actions is crucial. Use the flutter_test package to create tests that verify the behavior of observables and actions. For instance, you can test if an action updates observables correctly and if computed values reflect changes as expected.
Writing Unit Tests: Write tests to validate the core functionality of your stores. For example, test that the roll() action updates dice values and the total computed property recalculates accordingly.
Debugging with MobX Dev Tools: Utilize MobX dev tools for real-time state inspection and debugging. They allow you to track observable changes and action triggers, simplifying debugging.
By employing these testing and debugging techniques, you can ensure that your MobX-based Flutter apps are reliable and maintainable.
Best Practices for MobX in Flutter
Best Practices for MobX in Flutter
Best Practices for MobX in Flutter
Best Practices for MobX in Flutter
Struggling with performance issues or excessive rebuilds in your MobX-based Flutter app? Discover how to optimize your state management for smoother, more efficient applications.
1. Performance Optimization: To enhance app performance, ensure that observable properties are kept to a minimum. Excessive observables can lead to unnecessary computations and slow down your app.
2. Efficient Use of Observers: Use Observer widgets judiciously to avoid excessive widget rebuilds. Place Observer only around parts of the UI that need to respond to state changes, rather than wrapping large sections of the widget tree.
3. Managing Reactivity with Computed Properties: Leverage computed properties to derive values from observables efficiently. Computed properties automatically update when their dependencies change, reducing the need for manual state management.
4. Avoiding Unnecessary Rebuilds: Implement selective observation by using Observer only where needed. This prevents the entire widget tree from rebuilding and improves performance.
By following these best practices, you can ensure that your MobX-based Flutter apps remain performant and responsive.
FAQs
FAQs
FAQs
FAQs

What is MobX in Flutter?
Hint: It's a state management library designed for reactive state handling in Flutter applications.How do I install MobX in my Flutter project?
Hint: Update yourpubspec.yamlwithmobx,flutter_mobx, andbuild_runnerpackages, then runflutter pub get.What are observables in MobX?
Hint: Observables are variables that MobX tracks, allowing the UI to reactively update when their values change.How do computed properties work in MobX?
Hint: They automatically calculate values based on observables and update when their dependencies change.What is an action in MobX?
Hint: Actions are methods that modify observables and handle state changes in MobX.How can I test MobX stores?
Hint: Write unit tests to ensure observables and actions perform correctly and as expected.What are some common performance optimization tips for MobX?
Hint: Minimize the number of observables, use selective observation, and optimize observer placement.How do Observer widgets help in MobX?
Hint: They rebuild only the parts of the UI that depend on observable changes, improving efficiency.What should I do if my computed properties are not updating?
Hint: Check if dependencies are properly declared and ensure MobX code generation is up-to-date.How can MobX be used for larger applications?
Hint: Organize the state into multiple stores and manage dependencies carefully to maintain clarity and scalability.
Conclusion
Conclusion
Conclusion
Conclusion
MobX offers a powerful solution for managing state in Flutter applications, making it easier to build scalable and efficient apps. By leveraging MobX, you gain access to reactive state management, simplified architecture, and enhanced performance for dynamic user interfaces. Its ability to handle multiple stores, organize complex logic, and automate updates through computed properties ensures your app remains responsive and maintainable as it grows.
We encourage you to explore MobX for your Flutter projects and experiment with its features to create robust and dynamic UIs. For further learning and resources, check out these helpful links:
Dive into MobX and unlock the potential of efficient state management in your Flutter apps!
Table of content


© 2021-25 Blupx Private Limited.
All rights reserved.
© 2021-25 Blupx Private Limited.
All rights reserved.
© 2021-25 Blupx Private Limited.
All rights reserved.