

Use Provider in Flutter: Simple and Effective State Management
Introduction
Introduction
Introduction
Introduction
Flutter is an open-source UI toolkit developed by Google that makes it easy to build beautiful, natively compiled mobile, web, and desktop applications from a single codebase. With Flutter, you can build high-performance apps that deliver a consistent user experience across all platforms. Its rich set of customizable widgets, fast development cycle with hot reload, and active community make it a preferred choice for developers looking for efficiency without compromising design and performance.
About Provider in Flutter for Effective State Management
In this blog, we’ll dive into Provider, one of the most popular state management solutions in Flutter. Whether you’re a beginner or an experienced developer looking to refine your skills, this guide covers everything you need to know about using Provider for state management.
What You’ll Learn:
What is Provider and why it’s important for managing state in Flutter apps?
Benefits of using Provider Compared to other state management solutions.
A step-by-step guide on how to integrate a Provider into your Flutter app.
A look at advanced topics like MultiProvider, ChangeNotifier, and ScopedModel.
Best practices to follow and common pitfalls to avoid when working with providers.
This guide is designed to give you a clear understanding of how to effectively manage state in Flutter using Provider, from the basics to more advanced techniques.
What is Provider?
What is Provider?
What is Provider?
What is Provider?
Provider is a popular state management solution in Flutter that acts as a wrapper around InheritedWidget. While InheritedWidget is powerful for passing data down the widget tree, it can be complicated and repetitive to work with directly. Provider simplifies this process, making it easier to manage and share state across your Flutter app.
Using Provider, you can manage the state in a more structured and readable way, allowing your app's widgets to rebuild automatically when the state changes. It also supports dependency injection, which makes it easier to manage and reuse objects across your app, leading to cleaner, more maintainable code.
Key Features of Provider:
Streamlined State Management: Reduces the boilerplate code needed for managing and sharing state.
Automatic Rebuilds: Widgets update seamlessly whenever the state they depend on changes.
Dependency Injection: Efficiently manage objects and dependencies, improving code reusability and maintainability.
Why Choose Provider for State Management?
Provider stands out as a versatile choice for Flutter developers because it strikes a good balance between simplicity and capability.
Advantages:
Easy to Learn: Provider’s straightforward approach makes it beginner-friendly, serving as a great entry point for state management in Flutter.
Scalable: Whether you’re building a small app or a large, complex one, Provider scales effectively to meet your needs.
Strong Community Support: Provider is widely adopted, offering plenty of documentation, tutorials, and community resources, so you’ll never be stuck without guidance.
In short, Provider offers a solid mix of simplicity and power, making it a reliable choice for state management in Flutter.
Core Concepts of Provider in Flutter
Core Concepts of Provider in Flutter
Core Concepts of Provider in Flutter
Core Concepts of Provider in Flutter
Provider simplifies state management by utilizing key Flutter principles like InheritedWidget, ChangeNotifier, and the Provider package itself. Let’s break down these core concepts with easy-to-follow explanations and examples.
1. InheritedWidget
InheritedWidget is the core building block behind Provider. It allows data to be passed down the widget tree efficiently without needing to pass it through each widget individually. Though powerful, InheritedWidget can be cumbersome when implemented directly, which is where Provider comes in.
Example: Basic InheritedWidget (Conceptual)
class MyInheritedWidget extends InheritedWidget {
  final int counter;

  MyInheritedWidget({
    required this.counter, required Widget child}) : super(child: child);

  @override
  bool updateShouldNotify(covariant MyInheritedWidget oldWidget) {
    return oldWidget.counter != counter;
  }

  static MyInheritedWidget? of(BuildContext context) {
    return context.dependOnInheritedWidgetOfExactType<MyInheritedWidget>();
  }
}
In the above example, data (like counter) can be accessed anywhere in the widget tree using MyInheritedWidget.of(context).
2. ChangeNotifier
ChangeNotifier is a simple class that provides the ability to notify listeners when a change occurs. It is commonly used with Providers to manage and update the app state.
Example: Basic ChangeNotifier
class Counter extends ChangeNotifier {
  int _count = 0;

  int get count => _count;

  void increment() {
    _count++;
    notifyListeners();
  }
}
In this example, Counter holds a count value and notifies listeners whenever it changes.
3. Provider Package
The Provider package wraps InheritedWidget and ChangeNotifier in an easy-to-use API. It handles state management efficiently and is highly flexible, suitable for both small and large applications.
Latest Code Example Using Provider
Here’s how to integrate Provider in a Flutter app:
Add the dependency in
pubspec.yaml:
dependencies:
  provider: ^6.0.5
Implement the
Provider:
import 'package:flutter/material.dart';
import 'package:provider/provider.dart';

void main() {
  runApp(
    ChangeNotifierProvider(
      create: (context) => Counter(),
      child: MyApp(),
    ),
  );
}

class MyApp extends StatelessWidget {
  @override
  Widget build(BuildContext context) {
    return MaterialApp(
      home: Scaffold(
        appBar: AppBar(title: Text('Provider Example')),
        body: Center(
          child: Column(
            mainAxisAlignment: MainAxisAlignment.center,
            children: <Widget>[
              Text('Counter Value:'),
              Consumer<Counter>(
                builder: (context, counter, child) {
                  return Text(
                    '${counter.count}',
                    style: TextStyle(fontSize: 40),
                  );
                },
              ),
              SizedBox(height: 20),
              ElevatedButton(
                onPressed: () => context.read<Counter>().increment(),
                child: Text('Increment'),
              ),
            ],
          ),
        ),
      ),
    );
  }
}

class Counter extends ChangeNotifier {
  int _count = 0;

  int get count => _count;

  void increment() {
    _count++;
    notifyListeners();
  }
}
In this example:
ChangeNotifierProvideris used to provide theCounterclass to the widget tree.Consumer<Counter>listens for changes and updates the UI when the counter value changes.
By understanding and leveraging InheritedWidget, ChangeNotifier, and the Provider package, you can manage your Flutter app’s state effectively with clean and maintainable code.
Getting Started with Provider: Basic Setup
Getting Started with Provider: Basic Setup
Getting Started with Provider: Basic Setup
Getting Started with Provider: Basic Setup
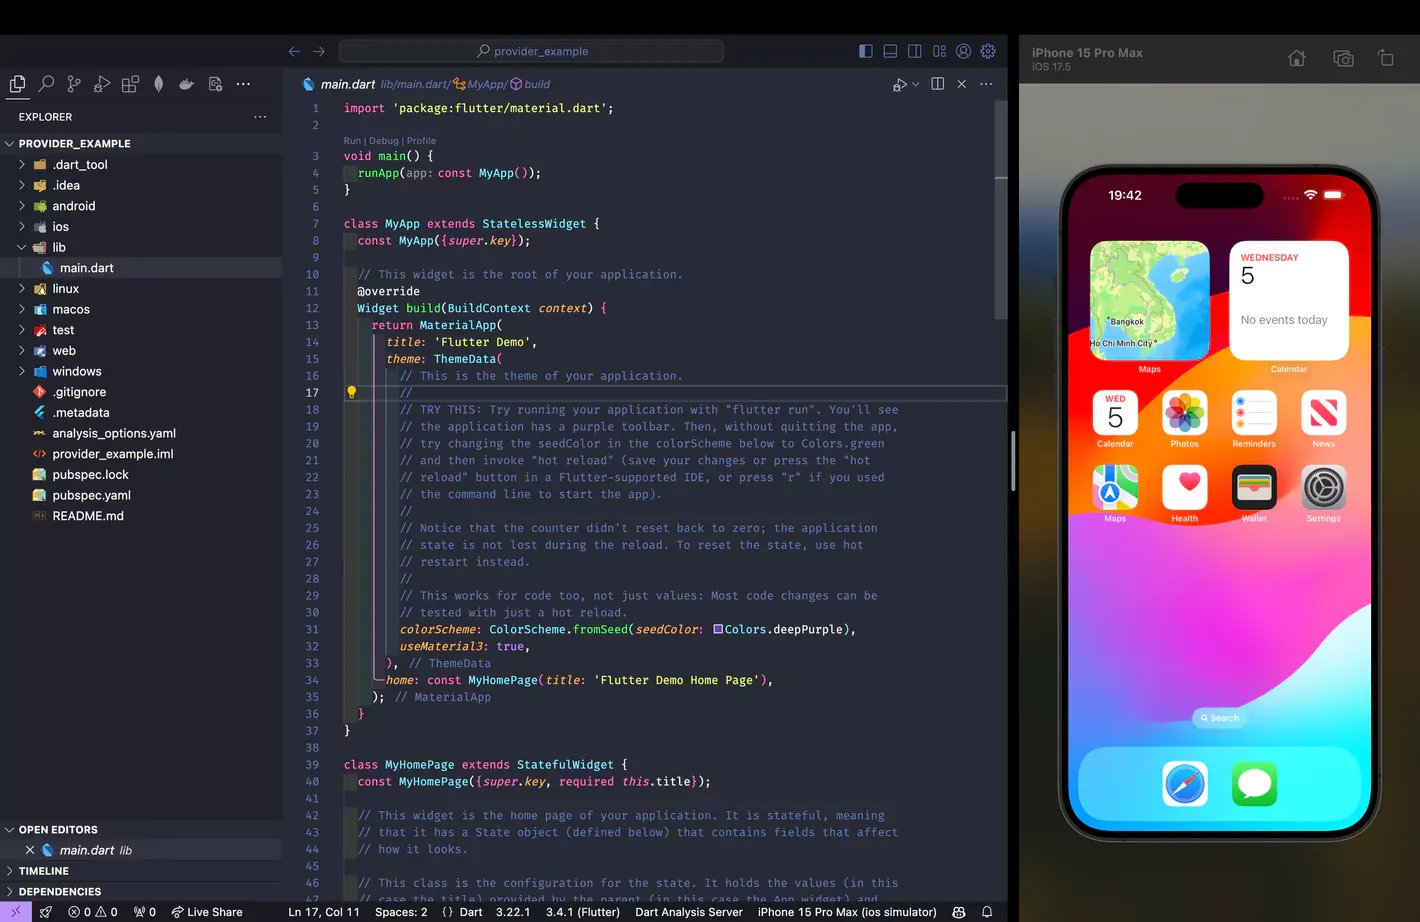
Here’s a step-by-step guide to implementing Provider in a Flutter app. In this example, we'll create a simple theme switcher that toggles between light and dark modes using Provider.
Step 1: Create a Flutter Project
First, create a new Flutter project:
Using VS Code: Run
Flutter: New Projectfrom the command palette.Using Android Studio: Go to
File → New → New Flutter Project.Using the terminal: Run
flutter create provider_example.

We also used VSCode to create a new Flutter app.
Step 2: Add Provider to Your Project
First, include the Provider package in your pubspec.yaml file.
dependencies:
  flutter:
    sdk: flutter
  provider: ^6.0.0
Run flutter pub get to install the package.
Step 3: Create Your Model
The model represents the state of your app. It extends ChangeNotifier to allow the app to listen to changes.
import 'package:flutter/material.dart';

class CounterModel extends ChangeNotifier {
  int _count = 0;

  int get count => _count;

  void increment() {
    _count++;
    notifyListeners(); // Notifies listeners to update the UI
  }
}
Step 4: Set Up Provider in Your Widget Tree
Wrap your app or the relevant part of your widget tree with ChangeNotifierProvider. This makes the model available throughout the app.
import 'package:flutter/material.dart';
import 'package:provider/provider.dart';
import 'counter_model.dart'; // Import your model

void main() {
  runApp(
    ChangeNotifierProvider(
      create: (context) => CounterModel(),
      child: MyApp(),
    ),
  );
}

class MyApp extends StatelessWidget {
  @override
  Widget build(BuildContext context) {
    return MaterialApp(
      home: CounterScreen(),
    );
  }
}
Step 5: Access the State in Your Widgets
To read and update the state, you can use Consumer, Provider.of, or Selector.
import 'package:flutter/material.dart';
import 'package:provider/provider.dart';
import 'counter_model.dart';

class CounterScreen extends StatelessWidget {
  @override
  Widget build(BuildContext context) {
    return Scaffold(
      appBar: AppBar(title: Text('Provider Example')),
      body: Center(
        child: Consumer<CounterModel>(
          builder: (context, counter, child) {
            return Text('Count: ${counter.count}',
          style: TextStyle(fontSize: 24));
          },
        ),
      ),
      floatingActionButton: FloatingActionButton(
        onPressed: () {
          context.read<CounterModel>().increment();
        },
        child: Icon(Icons.add),
      ),
    );
  }
}
The provider is a wrapper
InheritedWidgetthat simplifies state management.You define your state in a model class that extends
ChangeNotifier.Use
ChangeNotifierProviderto make your state available in the widget tree.Access the state using
Consumer,Provider.of, orSelectorfor efficient updates.
This basic setup provides the foundation for using Provider in more complex scenarios as your app scales.
Here’s a step-by-step guide to implementing Provider in a Flutter app. In this example, we'll create a simple theme switcher that toggles between light and dark modes using Provider.
Step 1: Create a Flutter Project
First, create a new Flutter project:
Using VS Code: Run
Flutter: New Projectfrom the command palette.Using Android Studio: Go to
File → New → New Flutter Project.Using the terminal: Run
flutter create provider_example.
We also used VSCode to create a new Flutter app.
Step 2: Add Provider to Your Project
First, include the Provider package in your pubspec.yaml file.
dependencies:
  flutter:
    sdk: flutter
  provider: ^6.0.0
Run flutter pub get to install the package.
Step 3: Create Your Model
The model represents the state of your app. It extends ChangeNotifier to allow the app to listen to changes.
import 'package:flutter/material.dart';

class CounterModel extends ChangeNotifier {
  int _count = 0;

  int get count => _count;

  void increment() {
    _count++;
    notifyListeners(); // Notifies listeners to update the UI
  }
}
Step 4: Set Up Provider in Your Widget Tree
Wrap your app or the relevant part of your widget tree with ChangeNotifierProvider. This makes the model available throughout the app.
import 'package:flutter/material.dart';
import 'package:provider/provider.dart';
import 'counter_model.dart'; // Import your model

void main() {
  runApp(
    ChangeNotifierProvider(
      create: (context) => CounterModel(),
      child: MyApp(),
    ),
  );
}

class MyApp extends StatelessWidget {
  @override
  Widget build(BuildContext context) {
    return MaterialApp(
      home: CounterScreen(),
    );
  }
}
Step 5: Access the State in Your Widgets
To read and update the state, you can use Consumer, Provider.of, or Selector.
import 'package:flutter/material.dart';
import 'package:provider/provider.dart';
import 'counter_model.dart';

class CounterScreen extends StatelessWidget {
  @override
  Widget build(BuildContext context) {
    return Scaffold(
      appBar: AppBar(title: Text('Provider Example')),
      body: Center(
        child: Consumer<CounterModel>(
          builder: (context, counter, child) {
            return Text('Count: ${counter.count}',
          style: TextStyle(fontSize: 24));
          },
        ),
      ),
      floatingActionButton: FloatingActionButton(
        onPressed: () {
          context.read<CounterModel>().increment();
        },
        child: Icon(Icons.add),
      ),
    );
  }
}
The provider is a wrapper
InheritedWidgetthat simplifies state management.You define your state in a model class that extends
ChangeNotifier.Use
ChangeNotifierProviderto make your state available in the widget tree.Access the state using
Consumer,Provider.of, orSelectorfor efficient updates.
This basic setup provides the foundation for using Provider in more complex scenarios as your app scales.
Advanced Techniques of Provider in Flutter
Advanced Techniques of Provider in Flutter
Advanced Techniques of Provider in Flutter
Advanced Techniques of Provider in Flutter
The Provider package in Flutter offers advanced techniques that enhance state management and improve code organization, scalability, and performance. Key concepts include MultiProvider, ChangeNotifier and ChangeNotifierProvider, Selector, and a comparison between ScopedModel and Provider. Let’s dive into each of these.
1. MultiProvider: Simplified Management of Multiple Providers
As your Flutter app grows, managing multiple pieces of state becomes essential. MultiProvider simplifies the process by allowing you to group several providers, offering a more organized and maintainable approach.
Imagine you have two models that both implement ChangeNotifier. Without MultiProvider, you would need to nest ChangeNotifierProvider widgets, leading to complex and cluttered code as your app scales. MultiProvider resolves this by grouping providers in a single, clean structure.
Example:
MultiProvider(
  providers: [
    ChangeNotifierProvider(create: (_) => ThemeModel()),
    ChangeNotifierProvider(create: (_) => SettingsModel()),
  ],
  child
Using MultiProvider not only streamlines your main app setup but also ensures scalability. You can easily add or remove providers as your app evolves, making state management more efficient and your codebase cleaner.
2. ChangeNotifier and ChangeNotifierProvider
ChangeNotifier is at the core of Provider-based state management. It notifies listeners about changes in state using the notifyListeners() method, enabling your app to reactively update the UI. When combined with ChangeNotifierProvider, you can manage state across your app effortlessly.
How It Works:
ChangeNotifier: Notifies listeners when state changes occur.
ChangeNotifierProvider: Wraps your
ChangeNotifierand handles its lifecycle, allowing your widgets to listen for state changes.
Example:
class ThemeModel extends ChangeNotifier {
  bool _isDark = false;

  bool get isDark => _isDark;

  void toggleTheme() {
    _isDark = !_isDark;
    notifyListeners();
  }
}
In this example, the ChangeNotifier notifies listeners whenever the theme is toggled, ensuring the UI updates accordingly.
3. Selector: Fine-Grained Control Over Widget Rebuilds
Selector is a more optimized alternative Consumer when you need to rebuild only specific parts of the widget tree based on selected properties of your model. This approach prevents unnecessary rebuilds, improving performance.
Example:
Selector<SettingsModel, bool>(
  selector: (context, settingsModel) => settingsModel.notificationsEnabled,
  builder: (context, notificationsEnabled, child) {
    return Icon(
      notificationsEnabled ? Icons.notifications
In this code, Selector rebuilds only the widget dependent on the notificationsEnabled property, avoiding unnecessary widget rebuilds, and boosting performance.
4. ScopedModel vs. Provider
Why Provider is the Better Choice
ScopedModel was once popular for state management in Flutter, but it has largely been replaced by Provider due to its limitations in scalability and performance.
Scalability: ScopedModel becomes difficult to manage as the app grows in complexity.
Performance: Provider allows for more efficient widget rebuilds, especially when using advanced techniques like
Selector.Integration: Provider integrates seamlessly with other Flutter packages, offering greater flexibility.
Why Choose Provider?
Provider's flexibility, superior performance, and better community support make it the preferred state management solution in modern Flutter apps. While ScopedModel is still functional, Provider offers more tools to build scalable and maintainable applications.
Best Practices for Using Provider in Flutter
Best Practices for Using Provider in Flutter
Best Practices for Using Provider in Flutter
Best Practices for Using Provider in Flutter
When working with the Provider package in Flutter, following best practices can greatly improve your app’s performance, scalability, and code maintainability. Here are some key guidelines:
1. Keep Providers Organized
As your app grows, managing multiple providers can become complex. It’s essential to keep your providers well-organized to maintain clarity in your codebase. Consider grouping related providers using MultiProvider and separating your provider logic into dedicated files or folders.
Tip: Use MultiProvider to group multiple providers in your main.dart or in any other appropriate location, which keeps the code clean and scalable.
MultiProvider(
  providers: [
    ChangeNotifierProvider(create: (_) => ThemeModel()),
    ChangeNotifierProvider(create: (_) => SettingsModel()),
  ],
  child
2. Favor Stateless Widgets
Whenever possible, opt for StatelessWidget over StatefulWidget when working with the Provider. By relying on providers for state management and leaving the widgets stateless, you reduce the complexity of your UI components, making them easier to test and maintain.
Tip: Use Consumer, Selector, or Provider.of within stateless widgets to handle updates and rebuilds when the state changes.
3. Use Selectors for Performance Optimization
Selectors are powerful for optimizing performance. Instead of rebuilding an entire widget tree when any state changes, Selector only rebuilds widgets based on specific properties.
Selector<SettingsModel, bool>(
  selector: (_, model) => model.notificationsEnabled,
  builder: (_, notificationsEnabled, __) {
    return Switch(
      value: notificationsEnabled,
      onChanged: (value) => model.toggleNotifications(),
    );
  },
);
Using Selector ensures that only the relevant widgets are rebuilt, improving the efficiency of your app.
4. Test with Providers
Testing your Flutter app with providers should be straightforward. Since providers handle state management, you can easily mock the state in unit tests, which allows for more controlled and isolated testing. Be sure to thoroughly test the interactions between your widgets and the providers.
Tip: Use MockProvider or create test doubles for your providers to simulate various scenarios during testing.
5. Consider Alternatives for Complex Apps
While Provider is great for many applications, as your app grows more complex, you might need more robust solutions like Riverpod, Bloc, or GetX. These frameworks offer additional features like dependency injection, better state isolation, and more modular structures.
Tip: Evaluate your app’s complexity and future growth before committing to Provider. If your app has complex state requirements, consider whether a different state management solution is a better fit.
Common Pitfalls and How to Avoid Them in Provider
Common Pitfalls and How to Avoid Them in Provider
Common Pitfalls and How to Avoid Them in Provider
Common Pitfalls and How to Avoid Them in Provider
When using Provider in Flutter, there are a few common issues that developers encounter. Here’s how to avoid them:
Not Using
notifyListeners:One of the most frequent mistakes is forgetting to call
notifyListeners()in yourChangeNotifierclass. This method is crucial for informing the UI to rebuild when the state changes. Without it, your UI won’t reflect the updates in your model, leading to inconsistencies.How to Avoid: Always remember to call
notifyListeners()whenever your state changes. You can even use debug prints to ensure it's being triggered when expected.Rebuilding the Entire Widget Tree:
Overusing providers or improperly managing the state can cause unnecessary rebuilds of the entire widget tree. This is especially problematic in larger apps, where performance can be significantly impacted.
How to Avoid: To prevent this, use the
Selectorwidget or split your widgets into smaller, more focused parts.Selectorlets you listen only to the specific part of the state that you care about, avoiding full tree rebuilds.
By following these practices, you’ll maintain efficient performance and avoid common pitfalls when using Provider in your Flutter applications.
Integrating Blup with Flutter State Management
Integrating Blup with Flutter State Management
Integrating Blup with Flutter State Management
Integrating Blup with Flutter State Management
Blup is a powerful low-code tool designed to streamline Flutter app development. By leveraging Blup, developers can significantly speed up the app creation process and simplify state management.
Blup’s low-code environment allows you to build and manage Flutter apps efficiently without extensive coding. It provides a visual interface for app design and logic, which makes implementing state management much more accessible.
How Blup Enhances Flutter State Management
Blup integrates seamlessly with Flutter’s state management capabilities. Here’s how:
Global Key Management: Blup utilizes global keys to manage state across the entire widget tree. A GlobalKey ensures that a widget’s state is preserved, even if the widget is moved or rebuilt within the app. This is particularly useful for maintaining consistency in the UI and preventing unnecessary state loss.
Simplified State Management: By using Blup’s visual tools, you can configure state management solutions like Provider without manually coding every detail. Blup's low-code environment abstracts much of the complexity, allowing you to focus on building features rather than managing boilerplate code.
Rapid Development: Blup accelerates the development process with its intuitive drag-and-drop interface and pre-built components. This allows developers to quickly prototype and deploy applications while integrating Flutter’s state management solutions, like Provider, efficiently.
In summary, Blup’s low-code platform enhances Flutter state management by providing an organized way to manage states with global keys and simplifying the development process. This integration helps developers create robust apps faster and with less effort.
Conclusion
Conclusion
Conclusion
Conclusion
Provider offers a simple yet powerful approach to state management in Flutter, making it accessible for both beginners and experienced developers. By integrating Provider into your Flutter app, you can easily manage and share state across your application while keeping your code clean and maintainable. Whether you’re building a small app or scaling up a complex project, Provider’s flexibility and ease of use make it an excellent choice.
For more in-depth insights into Flutter state management, check out Blup’s Flutter State Management Series on Medium. You can also join the Blup Community on Discord to connect with fellow Flutter enthusiasts and explore Blup Blogs for a comprehensive collection of Flutter learning resources. Blup is dedicated to helping developers streamline their app-building process with effective solutions and up-to-date resources.
Happy coding!
Table of content
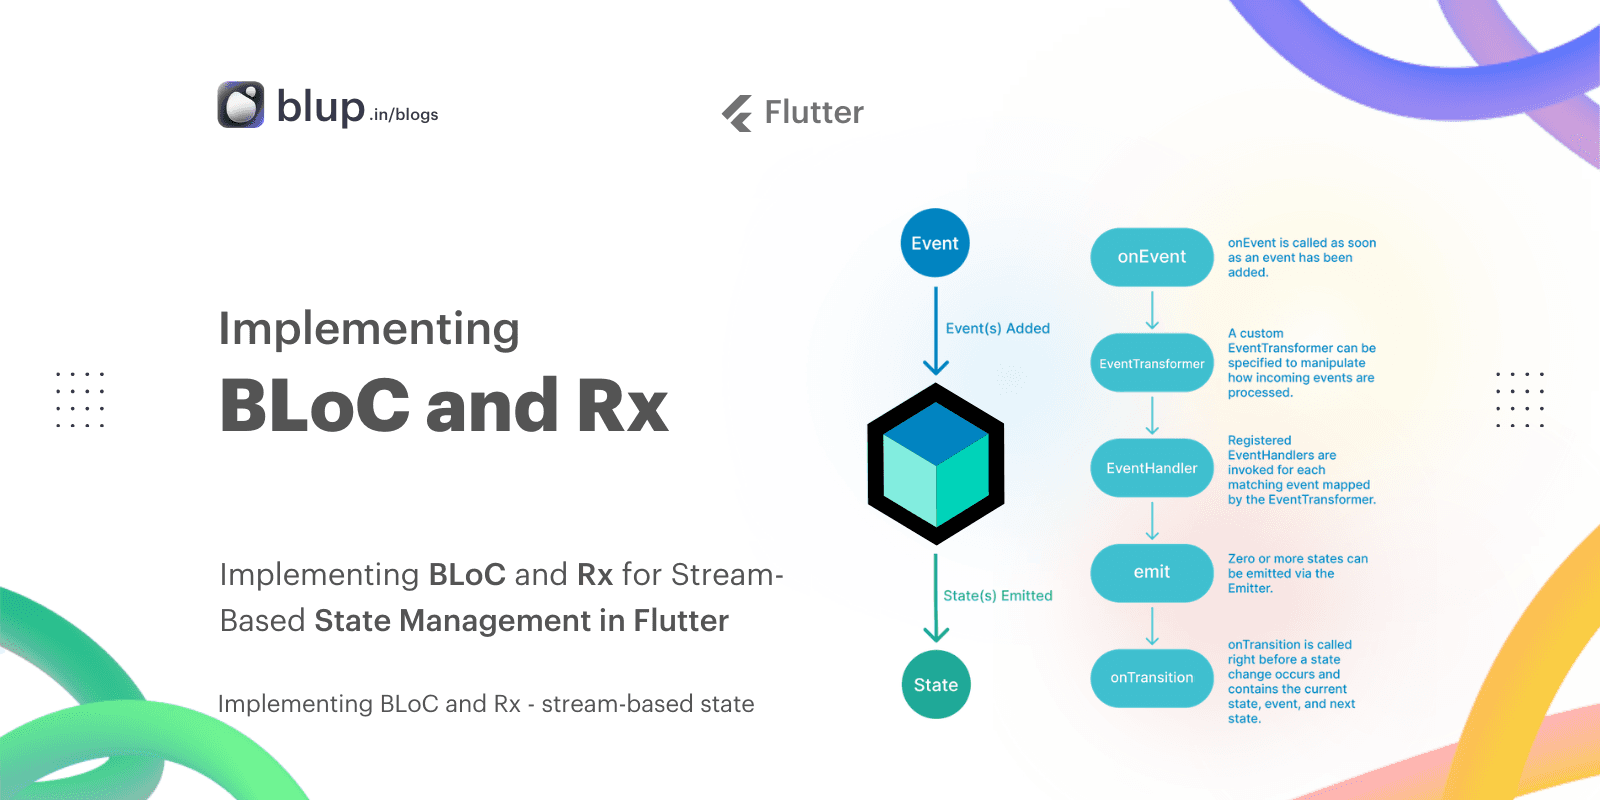
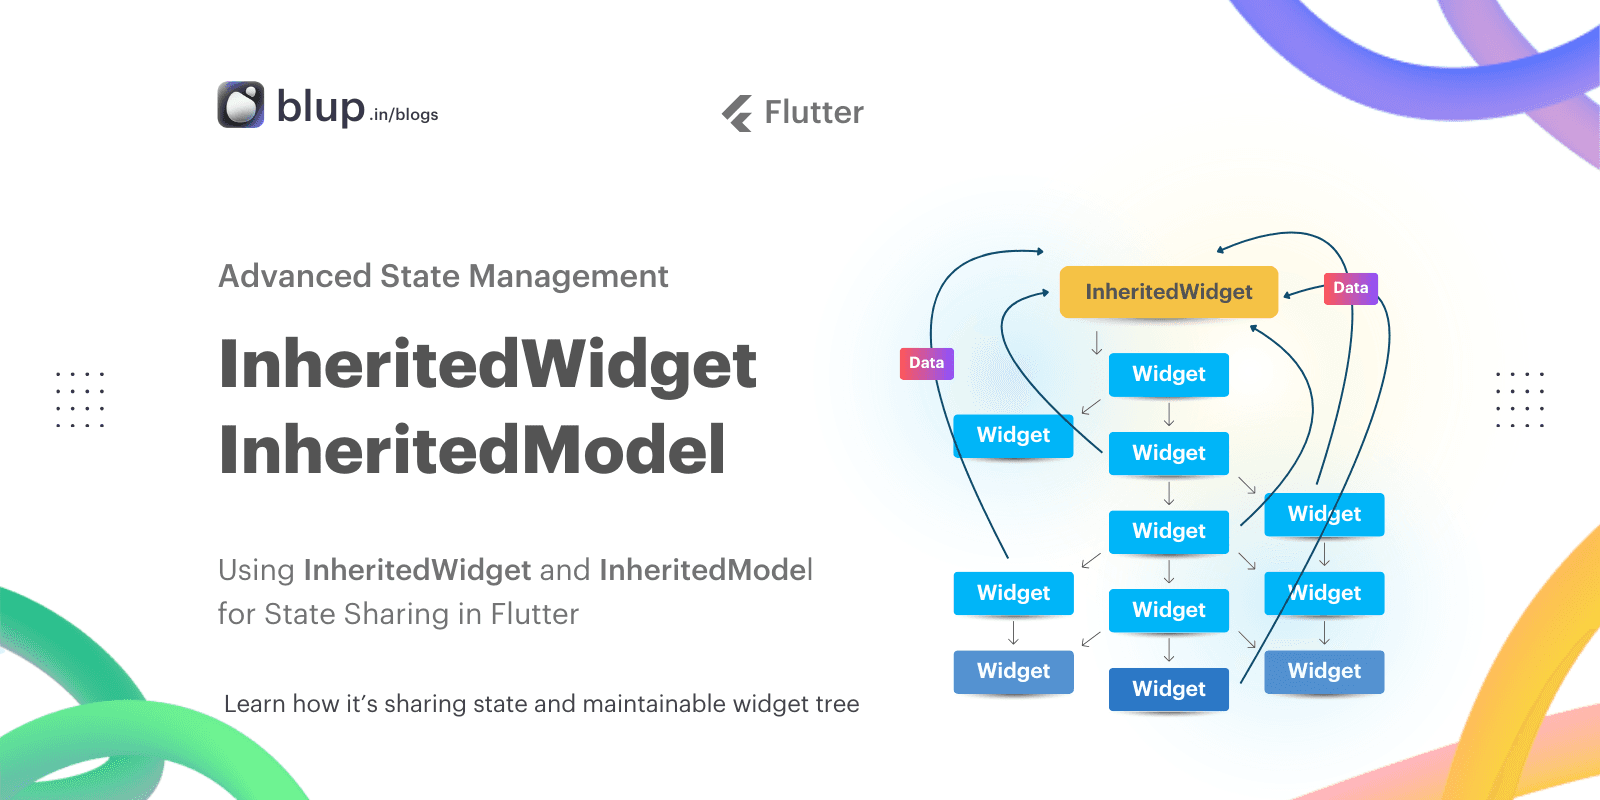


© 2021-25 Blupx Private Limited.
All rights reserved.
© 2021-25 Blupx Private Limited.
All rights reserved.
© 2021-25 Blupx Private Limited.
All rights reserved.