

6 Steps to build Flutter apps
Flutter is a powerful tool for building beautiful, fast, and cross-platform mobile applications. With Flutter, developers can create stunning apps that run on both Android and iOS devices, with a single codebase.
In this blog post, we will go through the steps involved in building a Flutter app, from setting up your development environment to deploying the app to the app store.
Step 1: Setting up your development environment
Before you start building a Flutter app, you need to set up your development environment. Here are the steps involved:
Download and install Flutter from the official website. Flutter is available for Windows, Mac, and Linux operating systems.
Once you have downloaded Flutter, extract the contents of the zip file to your desired location.
Add the Flutter bin directory to your system path so that you can run Flutter commands from the terminal. On Windows, you can do this by adding the Flutter bin directory to the Path environment variable.
Install Android Studio or Visual Studio Code. These are the two most popular IDEs for developing Flutter apps.
Install the Flutter plus Dart plugins for your IDE. To do this, go to the plugin marketplace in your IDE and search for "Flutter" and "Dart". Install both plugins.
Set up an emulator or connect your physical device to your computer. You will need an Android emulator or a physical Android device to run your app.
Step 2: Creating a new Flutter project
Once you have set up your development environment, it's time to create a new Flutter project. Here are the steps involved:
Open your IDE.
Open "File" ---> click "New Flutter Project".
Use the "Flutter Application" option and go "Next".
Name your project and hit "Finish".
This will create a new Flutter project with some default files and directories.
Step 3: Understanding the project structure
When you create a new Flutter project, you will see a project structure with various files and directories. Here's a brief overview of what each of these files and directories does:
android/ - The configuration files particular to Android are located in this directory. You don't need to modify these files unless you want to customize the behavior of your app on Android devices.
ios/ - The configuration files unique to iOS are located in this directory. You don't need to modify these files unless you want to customize the behavior of your app on iOS devices.
lib/ - This directory contains the Dart code for your app. You'll be writing code here the majority of the time.
test/ - This directory contains the unit and integration tests for your app. Writing tests is an important part of building a high-quality app.
pubspec.yaml - This file contains the dependencies and metadata for your app. You can use this file to specify the packages that your app depends on.
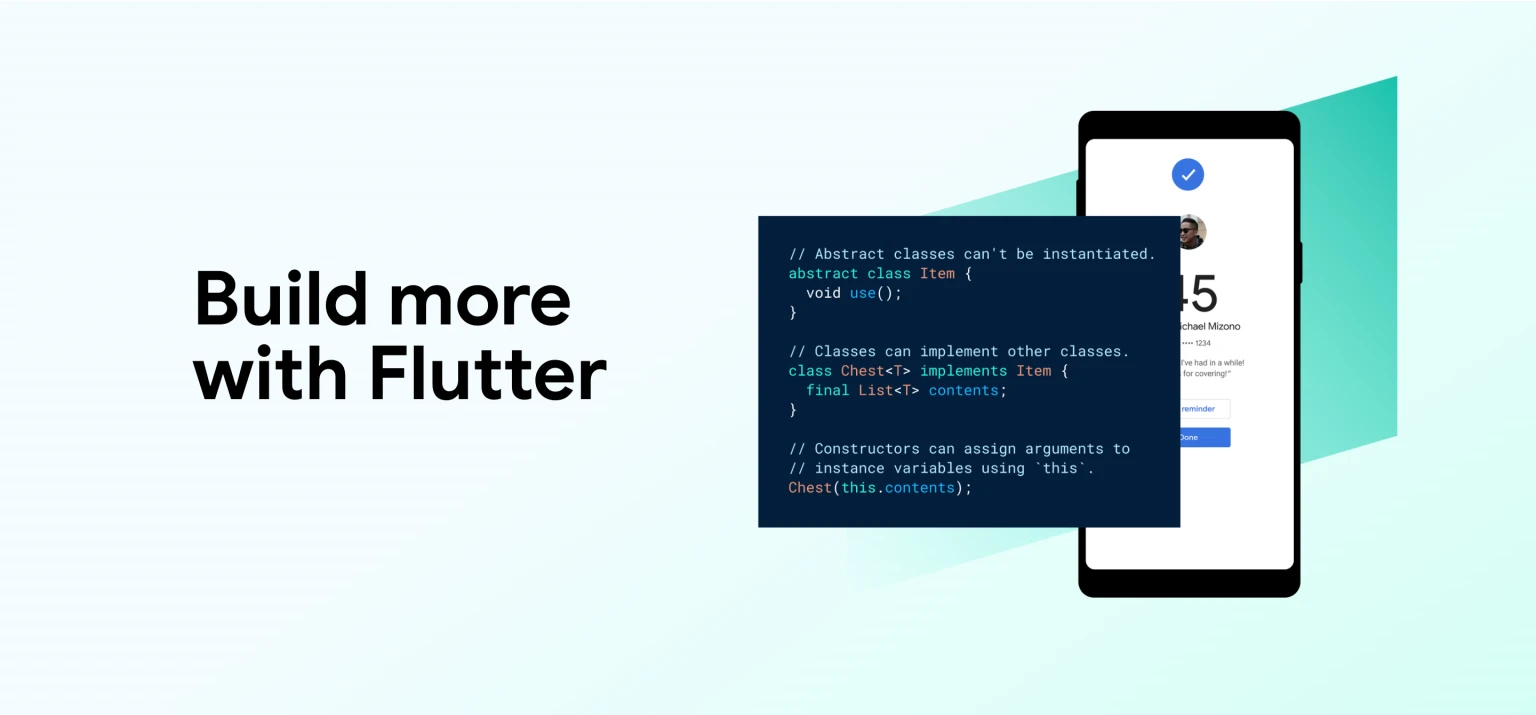
Step 4: Writing Dart code
Now that you understand the project structure, it's time to start writing Dart code. The programming language employed by Flutter is Dart. Here are some tips for writing Dart code:
Use the "main.dart" file as the entry point for your app. This file contains the main method that is called when your app is launched.
Use the "build" method to build the UI of your app. The build method is called whenever the state of your app changes and you need to update the UI.
Use widgets to build the UI of your app. Flutter has a rich set of built-in widgets that you can use to create beautiful UIs. You can also create your own custom widgets if needed.
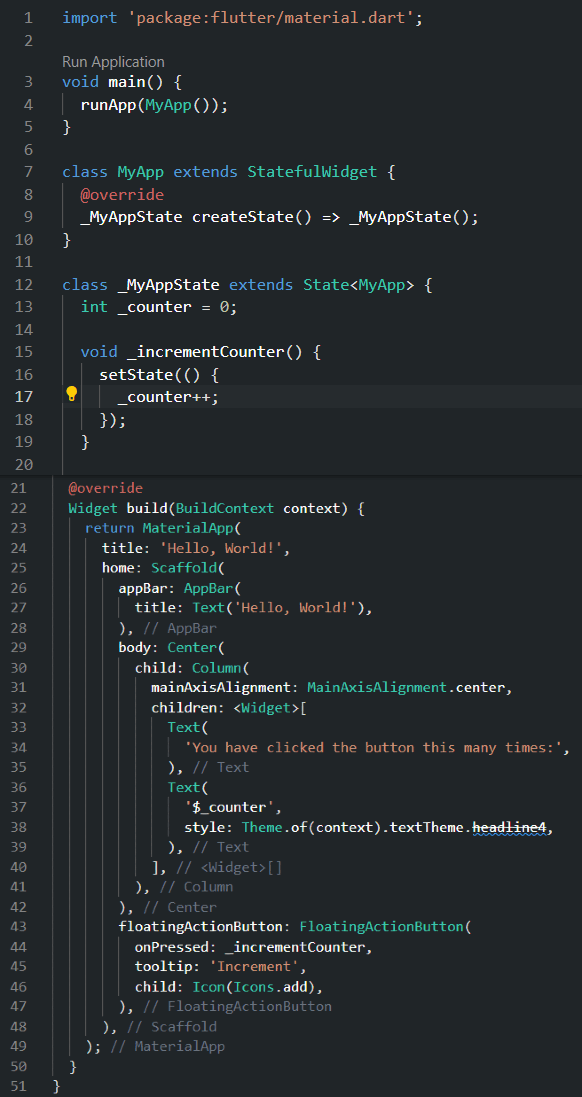
Step 5: Using StatefulWidget and External Packages Feature
In this example, we used the StatefulWidget class to create a stateful widget, which allows us to maintain the state of our app. We defined an integer variable called "_counter" and a method called "_incrementCounter" that increments the counter. We then used a Column widget to display the counter and a FloatingActionButton widget to trigger the "_incrementCounter" method when pressed. Finally, we wrapped our app in a MaterialApp widget to provide basic app functionality such as a title and an app bar.
In such cases, you can use external packages, which are libraries created by other developers and shared through the Flutter package repository. Here are the steps to use an external package in Flutter:
Find the package you want to use in the Flutter package repository. You can search for packages on the Flutter website or use the "flutter packages get" command to get a list of available packages in your project.
Add the package in your pubspec.yaml file as a dependency. This file is located in the root directory of your project and contains metadata about your app and its dependencies. To add a package, simply add its name and version number to the dependencies section of the file:
dependencies:
flutter:
sdk: flutter
package_name: ^version_number
Replace "package_name" with the name of the package you want to use and "version_number" with the version number of the package. The "^" symbol indicates that your app can use any compatible version of the package.
Run the "flutter packages get" command to download the package and its dependencies. This command updates your pubspec.lock file and downloads the package to your project's "packages" directory. Import the package in your Dart code by adding an import statement at the top of your file:
import 'package:package_name/package_name.dart';
Replace "package_name" with the actual name of the package you want to use. Use the package in your code by calling its functions and using its widgets. The package documentation should provide guidance on how to use its API.
That's it! You have successfully added an external package to your Flutter project and can now use its functionality in your app. Remember to check the package license and terms of use before including it in your app.
Step 6: Testing your Code:
Now that you have created your Flutter Code, Let’s test it out. We have already built our code and tested it using the zapp.run website.
Time to see the results!
Visit here and see for yourself. You can edit the code and create something of your own too.
What next!
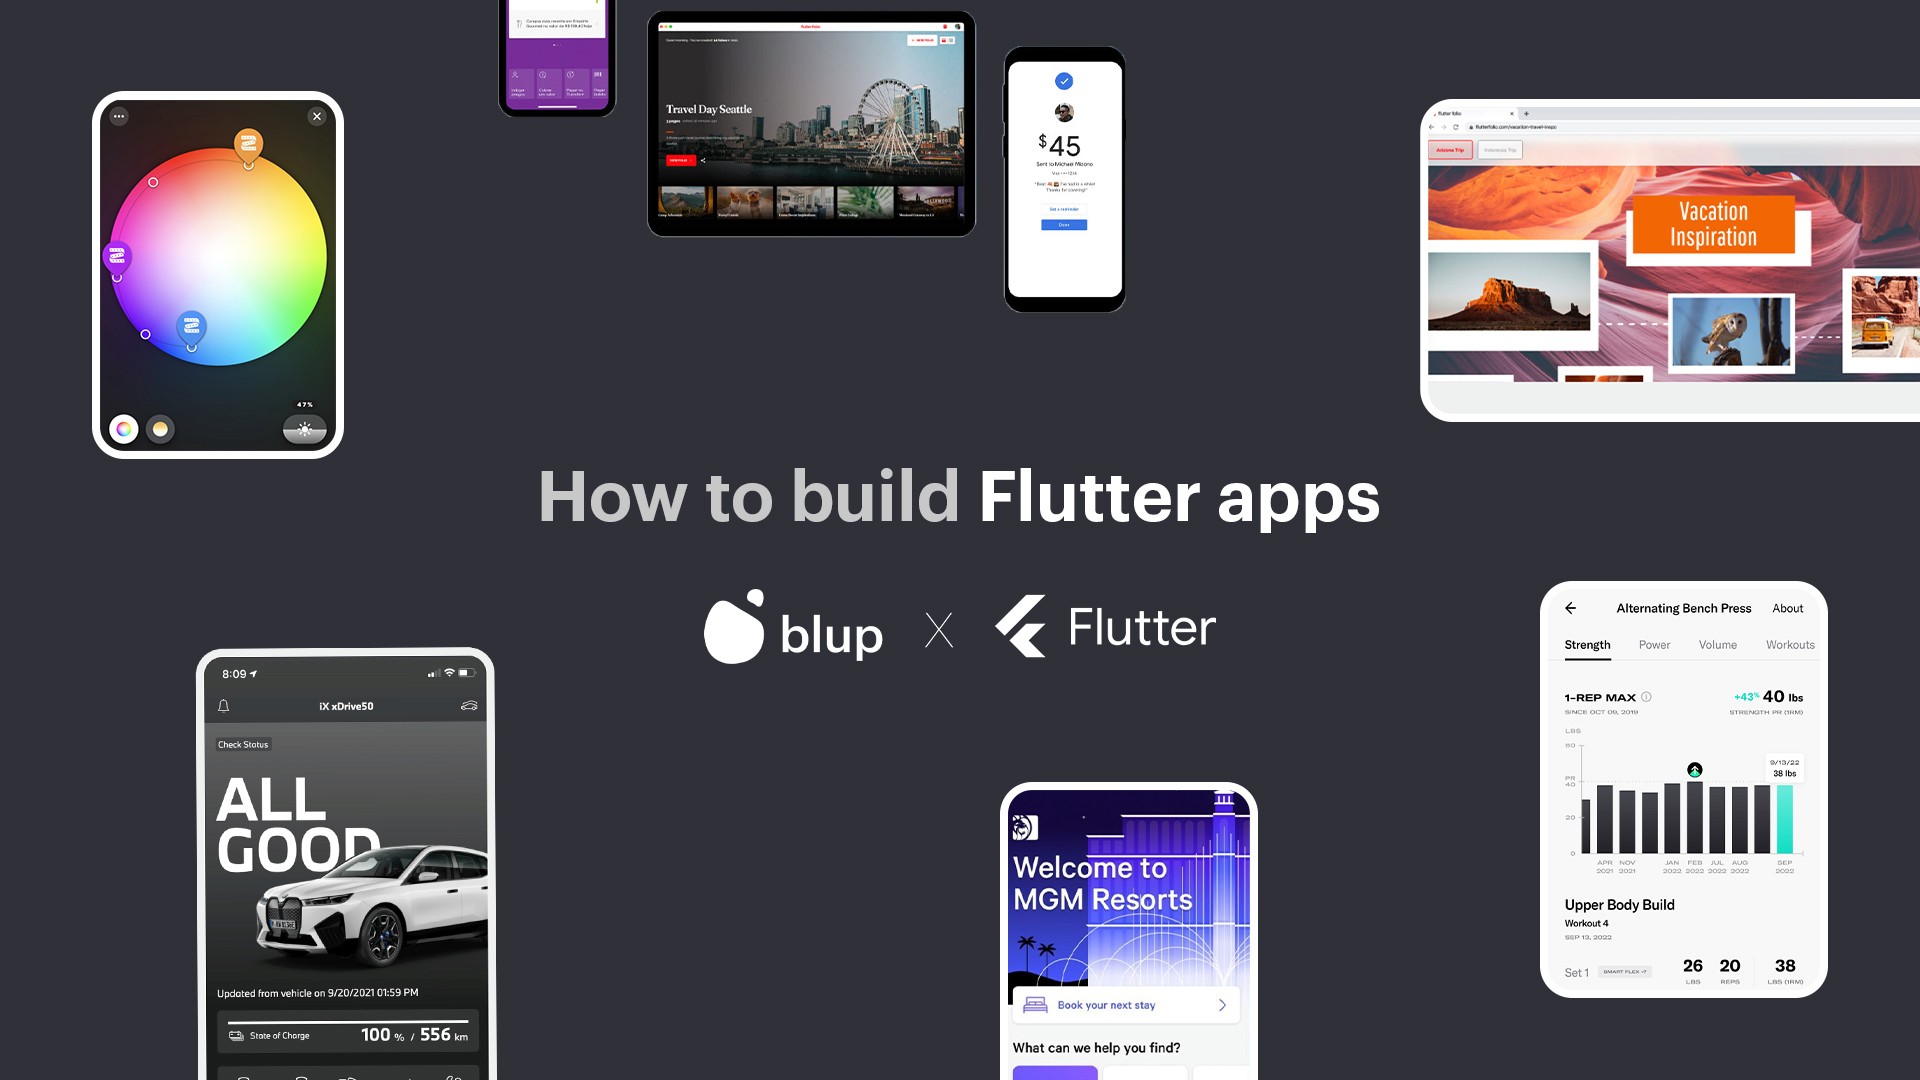
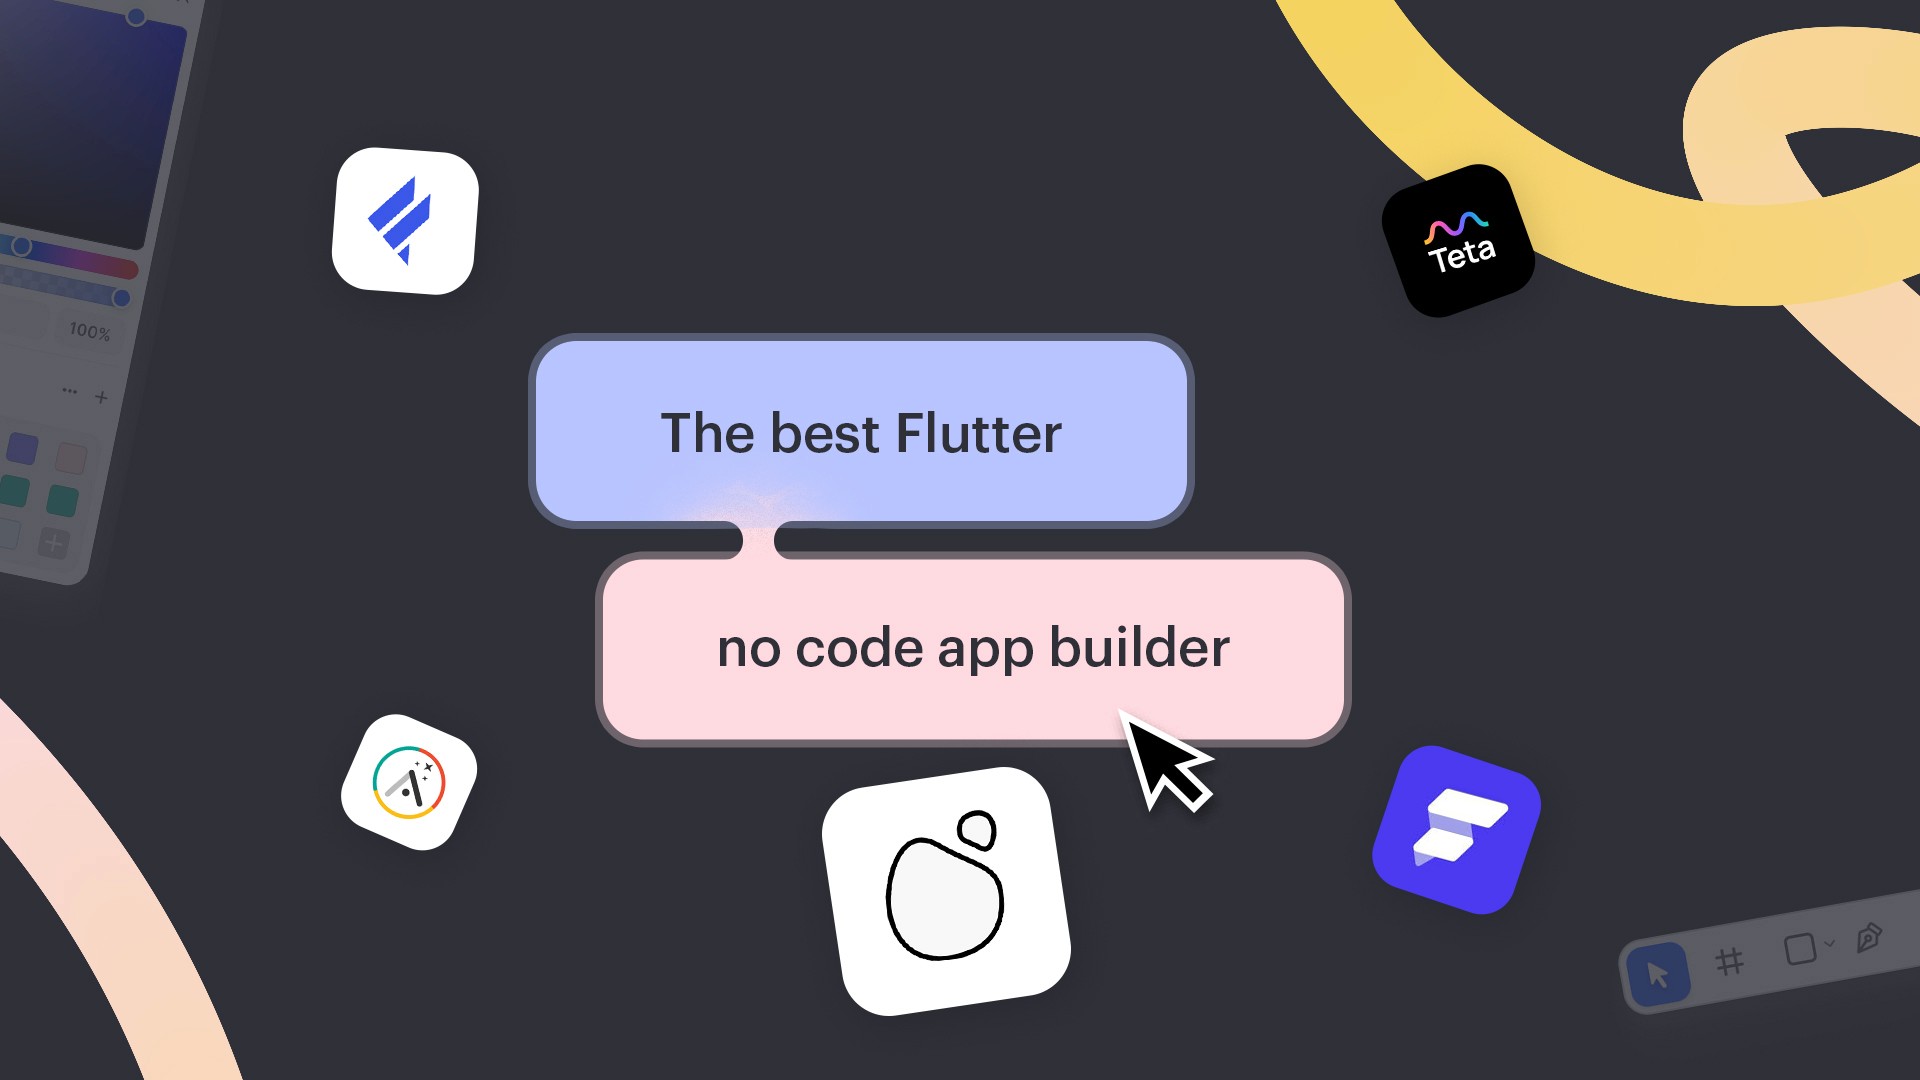
Build Flutter apps faster and cheaper, with Blup
Are you tired of struggling with coding or too many steps while trying to create a stunning mobile app?
Look no further than Blup! Our minimal-code app builder for Flutter Framework is designed to help anyone create beautiful, feature-rich mobile apps with minimal effort.
No need for installing separate packages, plugins, widgets, and more. You can access them all using a single Blup IDE.
Blup has everything you need to bring your app idea to life, whether you're a seasoned developer or just starting out. And with our updated UI set to launch soon, building the app of your dreams has never been easier.
6 Steps to build Flutter apps
Flutter is a powerful tool for building beautiful, fast, and cross-platform mobile applications. With Flutter, developers can create stunning apps that run on both Android and iOS devices, with a single codebase.
In this blog post, we will go through the steps involved in building a Flutter app, from setting up your development environment to deploying the app to the app store.
Step 1: Setting up your development environment
Before you start building a Flutter app, you need to set up your development environment. Here are the steps involved:
Download and install Flutter from the official website. Flutter is available for Windows, Mac, and Linux operating systems.
Once you have downloaded Flutter, extract the contents of the zip file to your desired location.
Add the Flutter bin directory to your system path so that you can run Flutter commands from the terminal. On Windows, you can do this by adding the Flutter bin directory to the Path environment variable.
Install Android Studio or Visual Studio Code. These are the two most popular IDEs for developing Flutter apps.
Install the Flutter plus Dart plugins for your IDE. To do this, go to the plugin marketplace in your IDE and search for "Flutter" and "Dart". Install both plugins.
Set up an emulator or connect your physical device to your computer. You will need an Android emulator or a physical Android device to run your app.
Step 2: Creating a new Flutter project
Once you have set up your development environment, it's time to create a new Flutter project. Here are the steps involved:
Open your IDE.
Open "File" ---> click "New Flutter Project".
Use the "Flutter Application" option and go "Next".
Name your project and hit "Finish".
This will create a new Flutter project with some default files and directories.
Step 3: Understanding the project structure
When you create a new Flutter project, you will see a project structure with various files and directories. Here's a brief overview of what each of these files and directories does:
android/ - The configuration files particular to Android are located in this directory. You don't need to modify these files unless you want to customize the behavior of your app on Android devices.
ios/ - The configuration files unique to iOS are located in this directory. You don't need to modify these files unless you want to customize the behavior of your app on iOS devices.
lib/ - This directory contains the Dart code for your app. You'll be writing code here the majority of the time.
test/ - This directory contains the unit and integration tests for your app. Writing tests is an important part of building a high-quality app.
pubspec.yaml - This file contains the dependencies and metadata for your app. You can use this file to specify the packages that your app depends on.
Step 4: Writing Dart code
Now that you understand the project structure, it's time to start writing Dart code. The programming language employed by Flutter is Dart. Here are some tips for writing Dart code:
Use the "main.dart" file as the entry point for your app. This file contains the main method that is called when your app is launched.
Use the "build" method to build the UI of your app. The build method is called whenever the state of your app changes and you need to update the UI.
Use widgets to build the UI of your app. Flutter has a rich set of built-in widgets that you can use to create beautiful UIs. You can also create your own custom widgets if needed.
Step 5: Using StatefulWidget and External Packages Feature
In this example, we used the StatefulWidget class to create a stateful widget, which allows us to maintain the state of our app. We defined an integer variable called "_counter" and a method called "_incrementCounter" that increments the counter. We then used a Column widget to display the counter and a FloatingActionButton widget to trigger the "_incrementCounter" method when pressed. Finally, we wrapped our app in a MaterialApp widget to provide basic app functionality such as a title and an app bar.
In such cases, you can use external packages, which are libraries created by other developers and shared through the Flutter package repository. Here are the steps to use an external package in Flutter:
Find the package you want to use in the Flutter package repository. You can search for packages on the Flutter website or use the "flutter packages get" command to get a list of available packages in your project.
Add the package in your pubspec.yaml file as a dependency. This file is located in the root directory of your project and contains metadata about your app and its dependencies. To add a package, simply add its name and version number to the dependencies section of the file:
dependencies:
flutter:
sdk: flutter
package_name: ^version_number
Replace "package_name" with the name of the package you want to use and "version_number" with the version number of the package. The "^" symbol indicates that your app can use any compatible version of the package.
Run the "flutter packages get" command to download the package and its dependencies. This command updates your pubspec.lock file and downloads the package to your project's "packages" directory. Import the package in your Dart code by adding an import statement at the top of your file:
import 'package:package_name/package_name.dart';
Replace "package_name" with the actual name of the package you want to use. Use the package in your code by calling its functions and using its widgets. The package documentation should provide guidance on how to use its API.
That's it! You have successfully added an external package to your Flutter project and can now use its functionality in your app. Remember to check the package license and terms of use before including it in your app.
Step 6: Testing your Code:
Now that you have created your Flutter Code, Let’s test it out. We have already built our code and tested it using the zapp.run website.
Time to see the results!
Visit here and see for yourself. You can edit the code and create something of your own too.
What next!
Build Flutter apps faster and cheaper, with Blup
Are you tired of struggling with coding or too many steps while trying to create a stunning mobile app?
Look no further than Blup! Our minimal-code app builder for Flutter Framework is designed to help anyone create beautiful, feature-rich mobile apps with minimal effort.
No need for installing separate packages, plugins, widgets, and more. You can access them all using a single Blup IDE.
Blup has everything you need to bring your app idea to life, whether you're a seasoned developer or just starting out. And with our updated UI set to launch soon, building the app of your dreams has never been easier.


© 2021-25 Blupx Private Limited.
All rights reserved.
© 2021-25 Blupx Private Limited.
All rights reserved.
© 2021-25 Blupx Private Limited.
All rights reserved.